This page contains some affiliate links. Please review my disclosure policy.
Enjoy the taste of this tandoori chicken recipe without all the dishes! This one pot tandoori chicken and rice can easily be prepped in advance and makes a large serving that the whole family can enjoy.
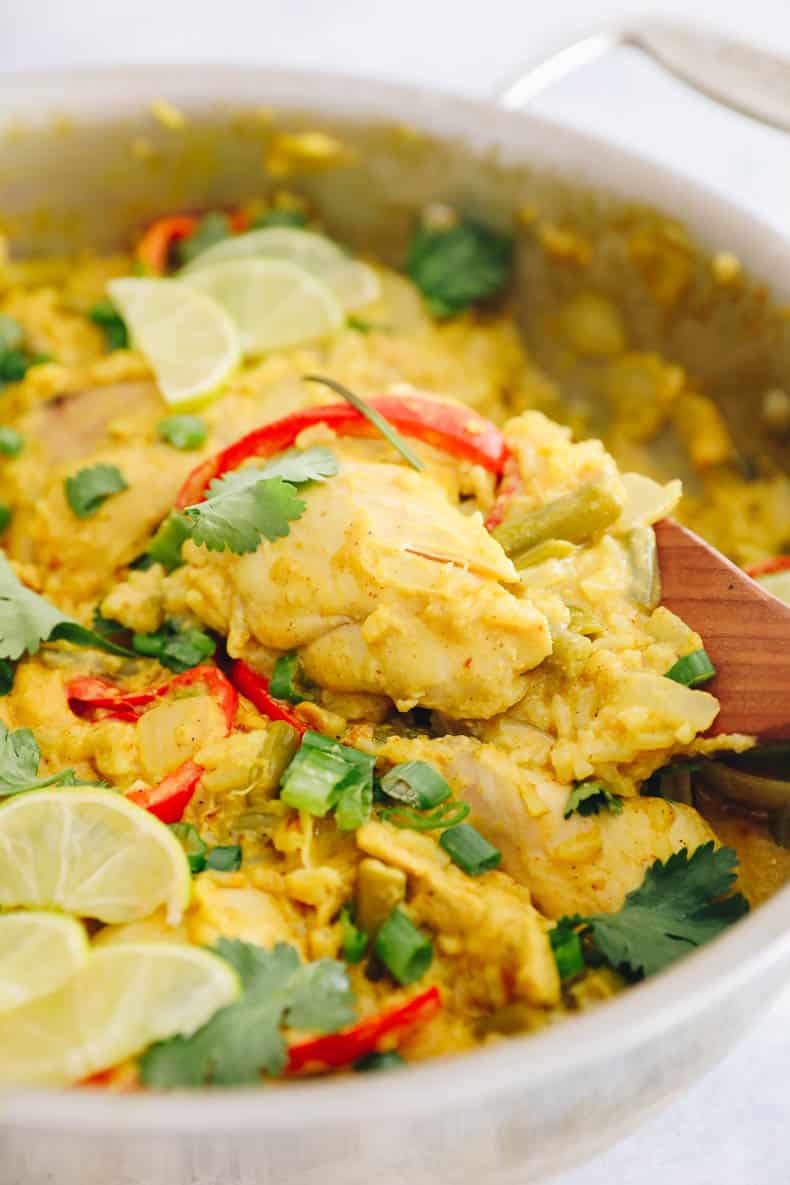
Table of Contents
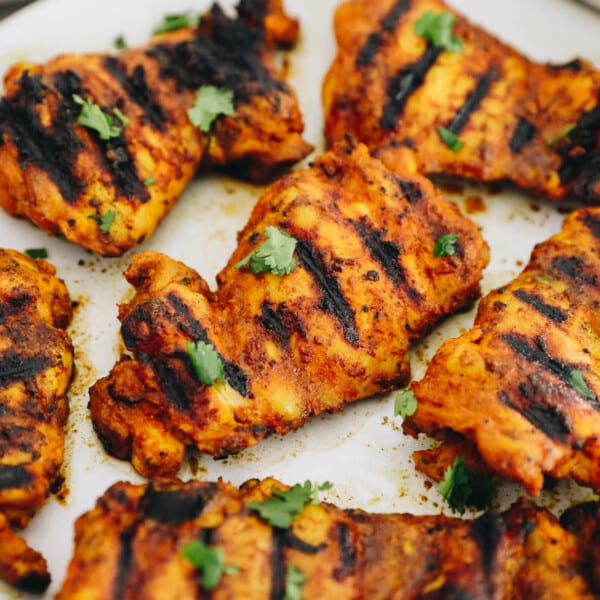
This isn’t my first take at a tandoori chicken recipe! Technically I have a slightly different version for grilled tandoori chicken kebabs that has incredibly delicious flavor but does require a grill. I realize not everyone has a grill and not everyone wants to prepare a bunch of sides to pair with their chicken.
This one pot chicken tandoori is the answer for those of you who love the flavor of chicken tandoori but don’t have an outdoor grill or a traditional tandoor clay oven. Even better, you can cook everything in one pot so it’s a great recipe to feed the whole family!
I got the double thumbs up from my fam and this has officially become a staple on our weekly meal plan. I know you’re going to love it too!
Why Make This Recipe?
One Pot – If this isn’t a selling point, I don’t know what is! Technically you’ll need to wash one other bowl for the chicken marinade but this entire dish can be cooked all in one pot on the stove top!
Easy Meal Prep – This one pot tandoori chicken recipe is awesome if you’re a big meal prepper and want to have a dish prepared for the week. Storage instructions below but you can easily make on a Sunday for several meals throughout the week.
High in protein + veggies – besides being a meal-in-one this chicken tandoori makes a healthy dish that’s both high in protein and a good serving of veggies!
Ingredients Needed in Chicken Tandoori
- Chicken thighs – I like using boneless, skinless chicken thighs but you can also use bone in or skin on chicken thighs
- Yellow onion – or white onion if desired
- Greek yogurt – I like using full-fat plain Greek yogurt
- Garlic cloves – Ideally use fresh garlic cloves
- Lemon juice – Preferred to juice fresh but bottled will work too.
- Freshly grated ginger – grate or if in a pinch you can finely chop your ginger too
- Spices – garam masala, coriander, paprika, turmeric, ground cumin, salt and cayenne pepper.
- Coconut oil – for cooking chicken + veggies
- Bell pepper – any color works but I prefer red, yellow or orange
- Green beans – be sure to remove the stems and chop into 1-inch pieces.
- White basmati rice – jasmine rice will work too. DO NOT USE BROWN RICE.
- Coconut milk – I like using full-fat coconut milk but lite coconut milk will also work
- Water – for cooking the rice.
- Optional toppings: cilantro, lime, green onions, peanuts etc…
How to Make This Tandoori Chicken Recipe
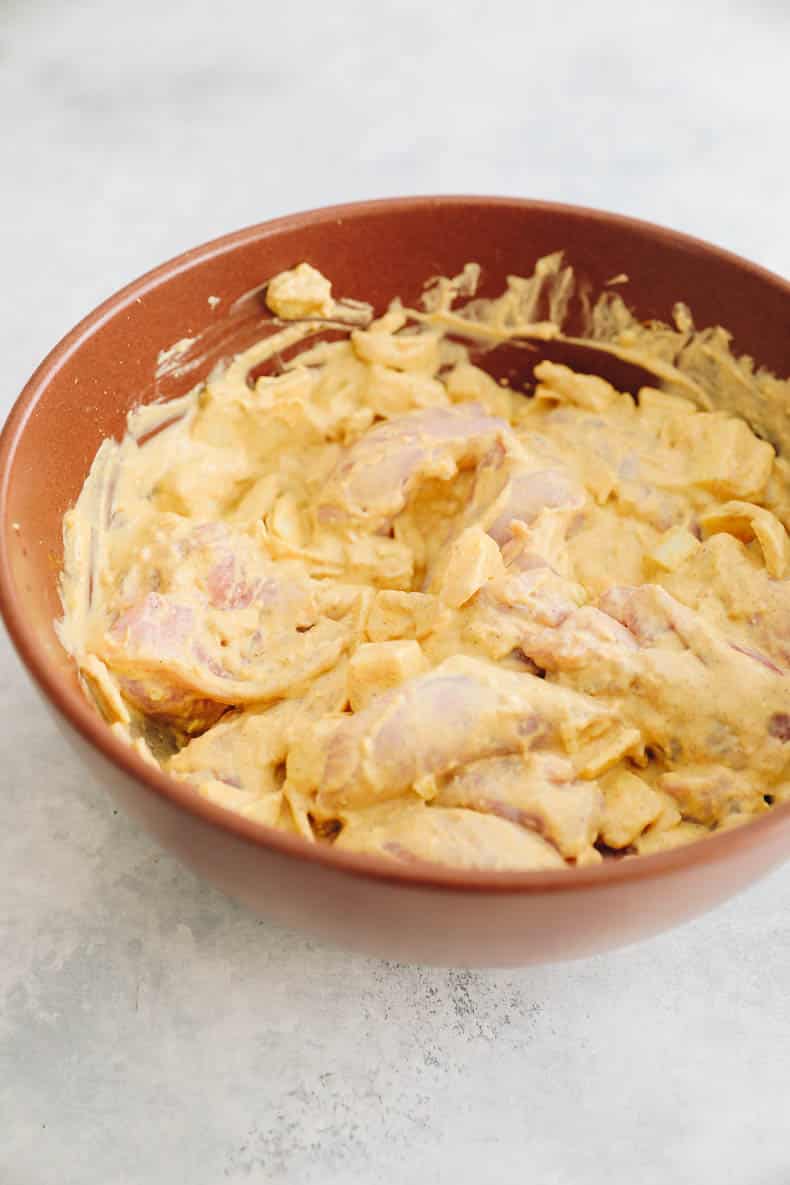
STEP 1: MARINATE CHICKEN
In a large bowl add the Greek yogurt, garlic, lemon juice, ginger, and spices. Mix chicken thighs and yellow onion directly into yogurt mixture. Cover bowl and allow to marinate in fridge for 4 hours or 30 minutes minimum.
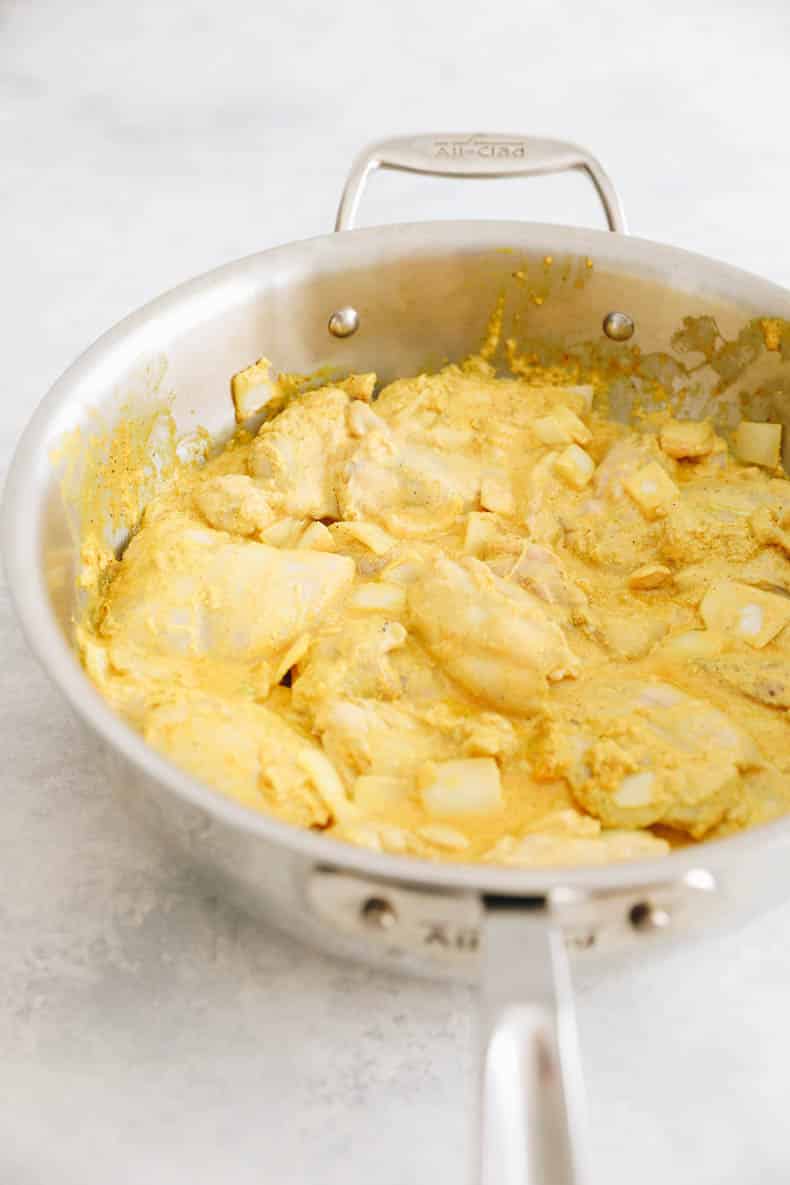
STEP 2: COOK CHICKEN
Heat a large pot or dutch oven over medium-high heat and add 1 tbsp of coconut oil. Add chicken and marinade to pot and brown on both sides (roughly 3 minutes per side). No need to cook all the way through. Remove chicken from pot and set aside. You can leave any additional marinade and onions in the pot.
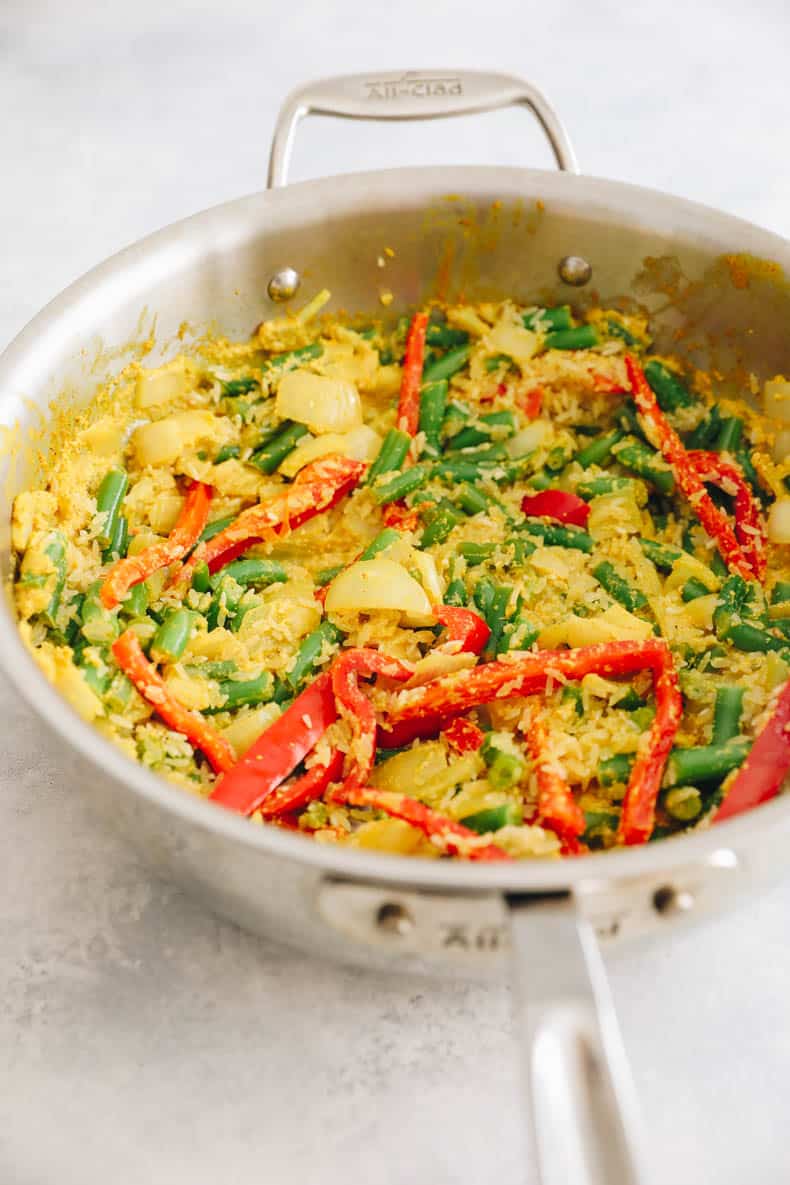
STEP 3: COOK VEGGIES
Add bell pepper and green beans to pot and cook for 3-4 minutes. Stir in rice and cook for 1 more minute to lightly brown.
STEP 4: SIMMER DISH
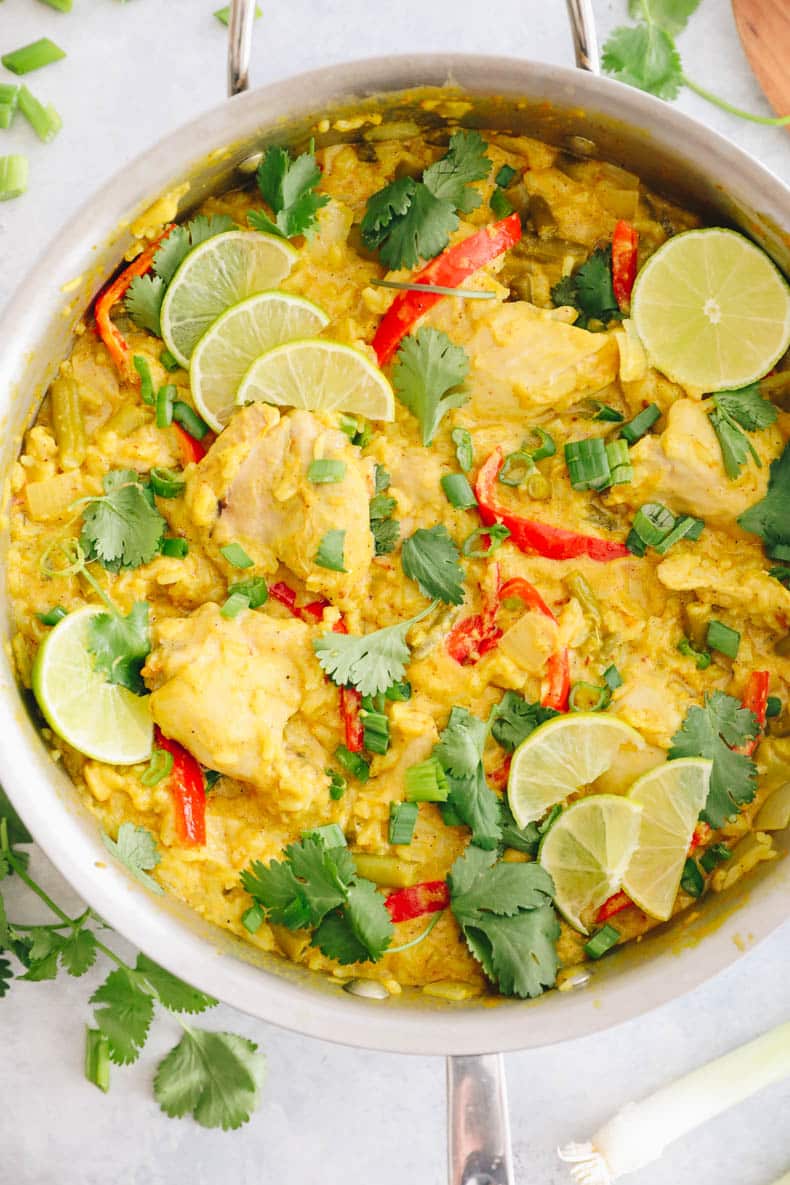
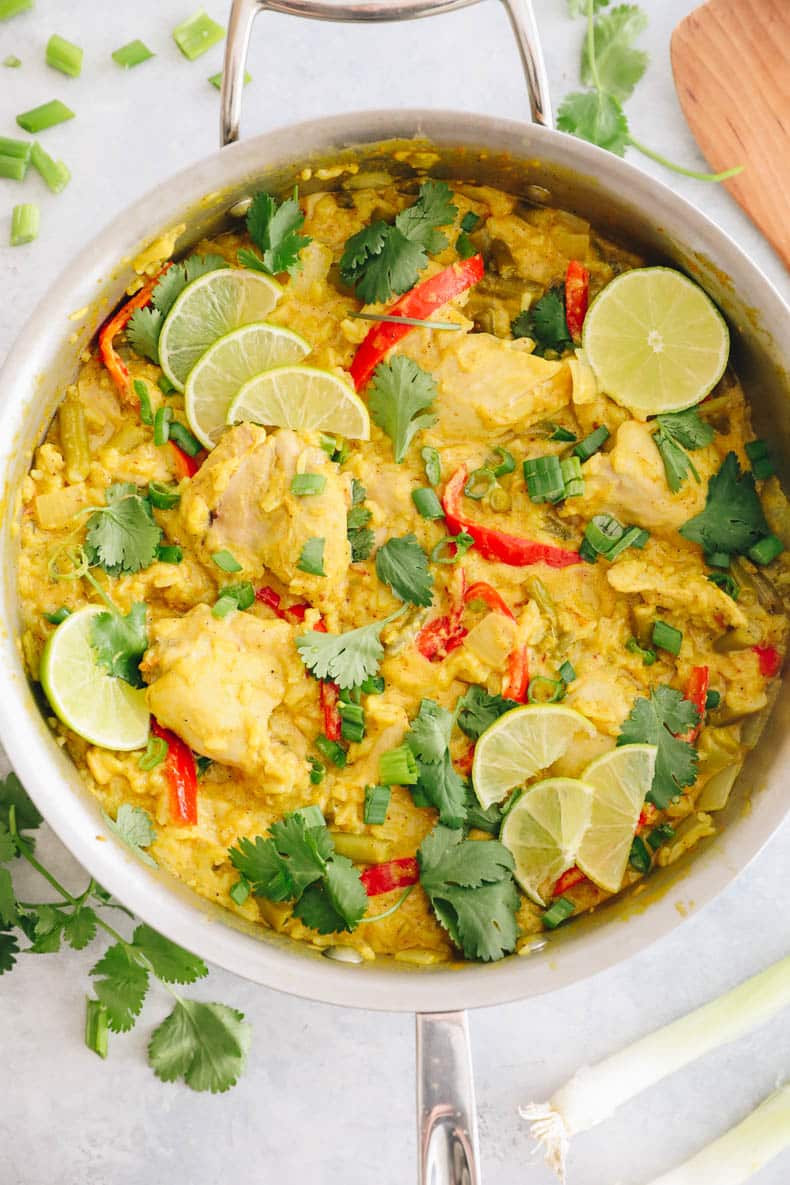
Add in coconut milk and water and a little bit of additional salt. Bring mixture to a simmer. Once simmering reduce heat to low and add the browned chicken on top and nestle them into the rice. Cover the pot or skillet immediately and cook for 20-25 minutes or until rice has absorbed all liquid and chicken is cooked through. Give it a good stir to ensure liquid has been absorbed. Top with fresh lime juice, chopped green onions or other suggested toppings.
Easy Swaps & Substitutions
- Use chicken breast – you can easily swap in boneless, skinless chicken breast in place of chicken thighs.
- Kick up the spice – I use a bit of cayenne in the chicken marinade but feel free to add more if you like a little heat!
- Replace the veggies – swap in whichever vegetables you prefer. Peas, carrots and broccoli all work great.
- Make it vegetarian – use tofu or chickpeas in place of meat. Cook as you would the chicken and then nestle in just the same.
- Do NOT use brown rice – I know! Such a bummer. I’ve tested this recipe so many times and unfortunately the brown rice mixture takes way too long to cook and overcooks the chicken. So stick to white rice!
Storage Instructions
This is a great meal prep dish to make at the start of the week! Leftovers will keep in an airtight container in the fridge for up to 5 days. Reheat in microwave or on stove-top.
You could also store this recipe in the freezer. Simply cover in a freezer-safe container in individual portions or a foil pan and cover with plastic wrap and tin foil. Allow to thaw on counter for several hours or overnight in fridge. Reheat in microwave or on stove-top.
More One-Pot Recipes
- One-Pot Chicken and Rice
- One Pot Israeli Chicken + Couscous
- One Pot Paprika Chicken
- One Pot Greek Chicken + Orzo
- One Pot Enchilada Soup
- One Pot Green Chili
One-Pot Tandoori Chicken and Rice

Enjoy the taste of this tandoori chicken recipe without all the dishes! This one pot tandoori chicken and rice can easily be prepped in advance and makes a large serving that the whole family can enjoy.
- Prep Time: 4 hours
- Cook Time: 35 minutes
- Total Time: 4 hours 35 minutes
- Yield: 4 servings 1x
- Category: Dinner
- Method: Cook
- Cuisine: Indian
- Diet: Gluten Free
Ingredients
For the chicken marinade:
- 1 1/2 lbs boneless, skinless chicken thighs
- 1 large yellow onion, chopped
- 1 cup plain Greek yogurt
- 2 garlic cloves, minced
- juice, 1 lemon
- 2 tsp freshly grated ginger
- 1 tsp garam masala
- 1 tsp ground coriander
- 1 tsp paprika
- 1/2 tsp turmeric
- 3/4 tsp ground cumin
- 1/2 tsp sea salt
- 1/4 tsp cayenne pepper
For the dish:
- 1 tbsp coconut oil
- 1 bell pepper, seeded + sliced
- 8 oz green beans, ends trimmed and cut into 1-inch long pieces
- 1 cup white basmati rice
- 1 15 oz can full-fat coconut milk
- 1/2 cup water
- Optional toppings: cilantro, lime wedges, green onions, peanuts etc…
Instructions
- In a large bowl add the Greek yogurt, garlic, lemon juice, ginger, and spices.
- Mix chicken thighs and yellow onion directly into yogurt mixture. Cover bowl and allow to marinate in fridge for 4 hours or 30 minutes minimum.
- Heat a large pot or dutch oven over medium-high heat and add 1 tbsp of coconut oil.
- Add chicken and marinade to pot and brown on both sides (roughly 3 minutes per side). No need to cook all the way through. Remove chicken from pot and set aside. You can leave any additional marinade and onions in the pot.
- Add bell pepper and green beans to pot and cook for 3-4 minutes. Stir in rice and cook for 1 more minute to lightly brown.
- Add in coconut milk and water and a little bit of additional salt. Bring mixture to a simmer.
- Once simmering reduce heat to low and add the browned chicken on top and nestle them into the rice.
- Cover the pot or skillet immediately and cook for 20-25 minutes or until rice has absorbed all liquid and chicken is cooked through. Give it a good stir to ensure liquid has been absorbed.
- Top with fresh lime juice, chopped green onions or other suggested toppings.


This recipe turned out great!! So flavourful and easy to make. I live at high altitude so only difference was having to cook an extra 10 min. Would definitely make this again!
So glad to hear that! Thank you for the feedback on cooking at altitude. Super helpful!