This page contains some affiliate links. Please review my disclosure policy.
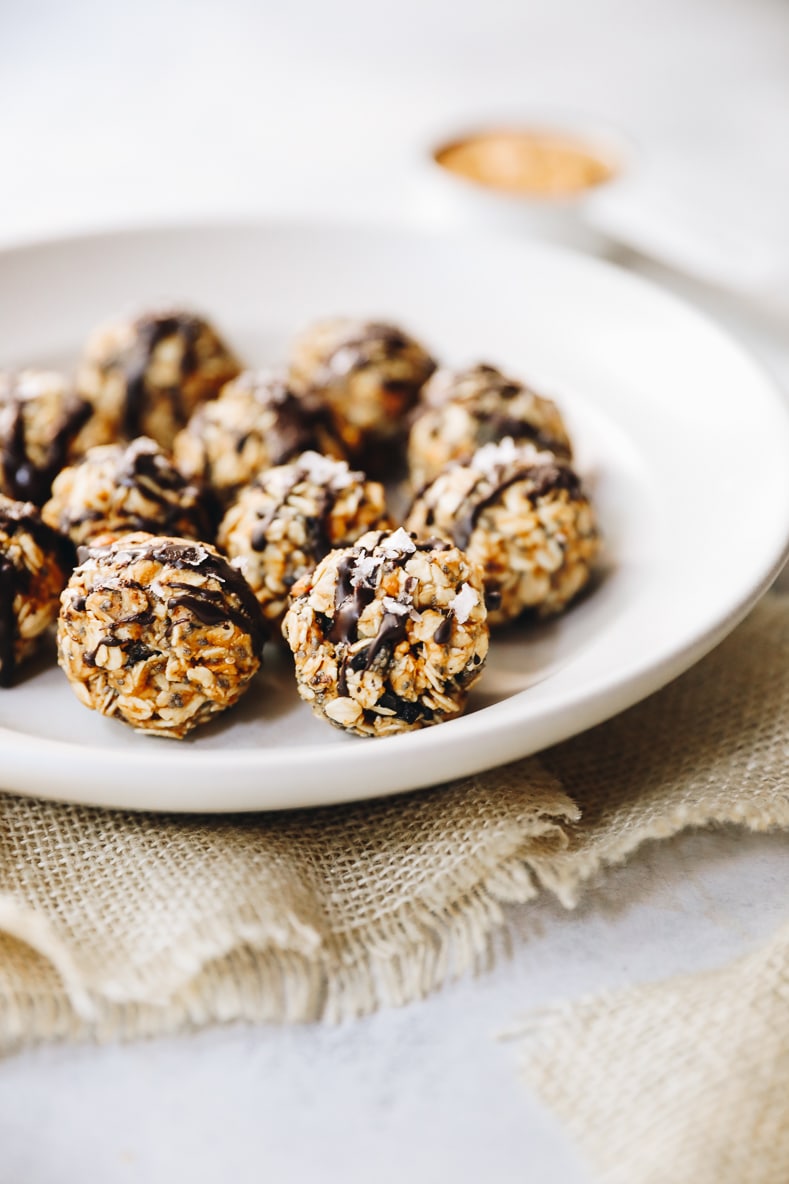
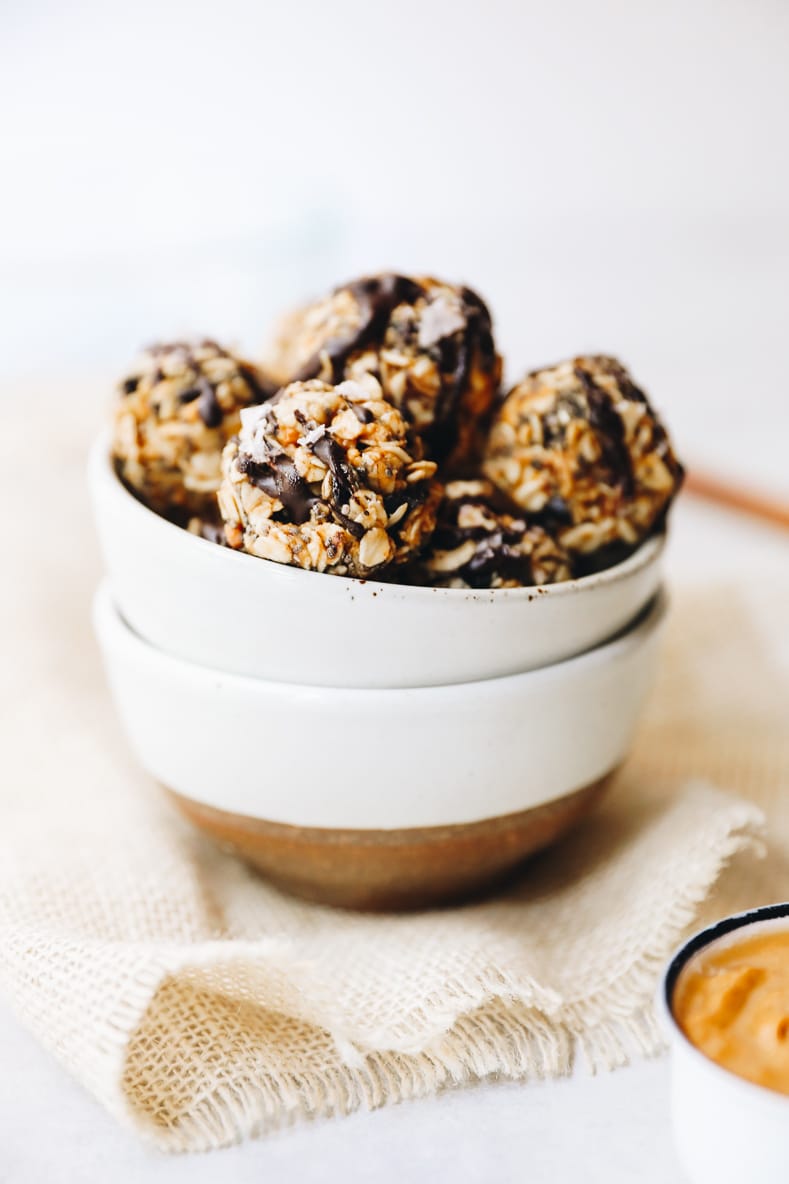
Just 5 ingredients are all you need to make these delicious and simple peanut butter oatmeal energy balls! They’re completely no-bake and ready in under 20 minutes – plus only one bowl required.
The Best Protein Ball Recipe!
The one thing that’s become certain: I have more energy balls than any other kind of recipe and all of them 100% serve you (and me!). Who doesn’t love a good energy ball? They’re easy, portable and in cases like these peanut butter protein balls they’re made in one bowl (no food processor required!) with just 5 ingredients.
Did I mention they taste great too?
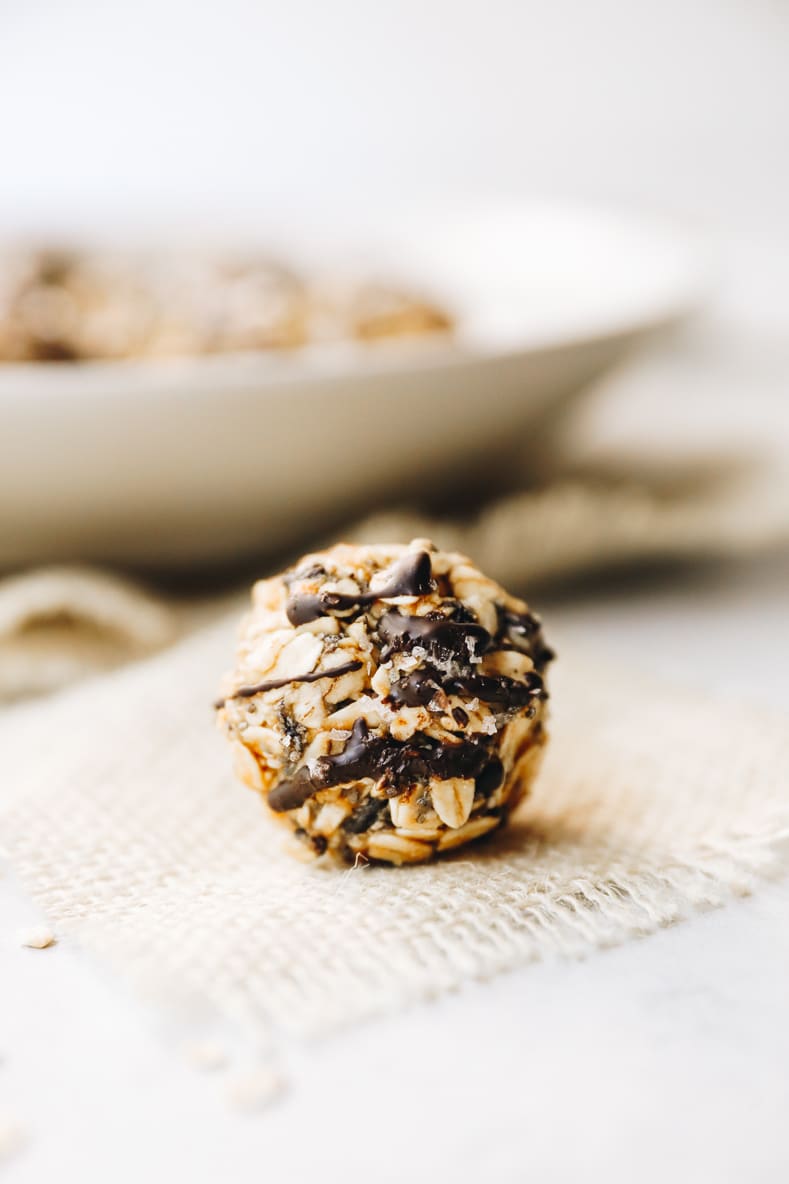
These energy balls use the perfect mixture of ingredients to create a healthy snack. They are a great source of healthy fats, protein and fiber and will keep you full for a long time! Just stir together in a bowl, roll and serve! Trust me, you’ll love this recipe.
Ingredients in Peanut Butter Protein Balls
- Rolled oats – I like regular rolled oats. You can get away with using quick cook oats if that’s what you have. Just don’t use steel-cut as you won’t be able to bite through them!
- Chia seeds OR Ground flaxseeds – Either one of these works. They’re essential for helping to bind these energy balls together since they’re both super absorbent. They’re also a great source of fiber.
- Natural Peanut Butter – Go for the natural kind as the oils help these peanut butter oatmeal energy balls hold shape. They also help you to control the amount of sugar. Any other nut butter or seed butter will work including almond butter, cashew butter, sunflower seed butter or even tahini!
- Raw Honey – This is for sweetness but also for binding. If you don’t have honey you can use date syrup or coconut syrup. Do not use maple syrup as it isn’t sticky enough to bind and they will fall apart
- Non-Dairy Milk – any milk will do. You can also use water if you don’t have any. These make a pretty dry batter so the non-dairy milk will help you get the better moving so you can roll it into balls.
- Optional: Chopped Chocolate or mini chocolate chips – I like adding in chopped chocolate for a peanut butter cup flavor. Alternatively you can melt it in the microwave and drizzle over top…Or both!
How to Make Peanut Butter Oatmeal Energy Balls
These no-bake energy balls are actually super easy to make and can be done entirely in one bowl! Here are my step-by-step instructions:
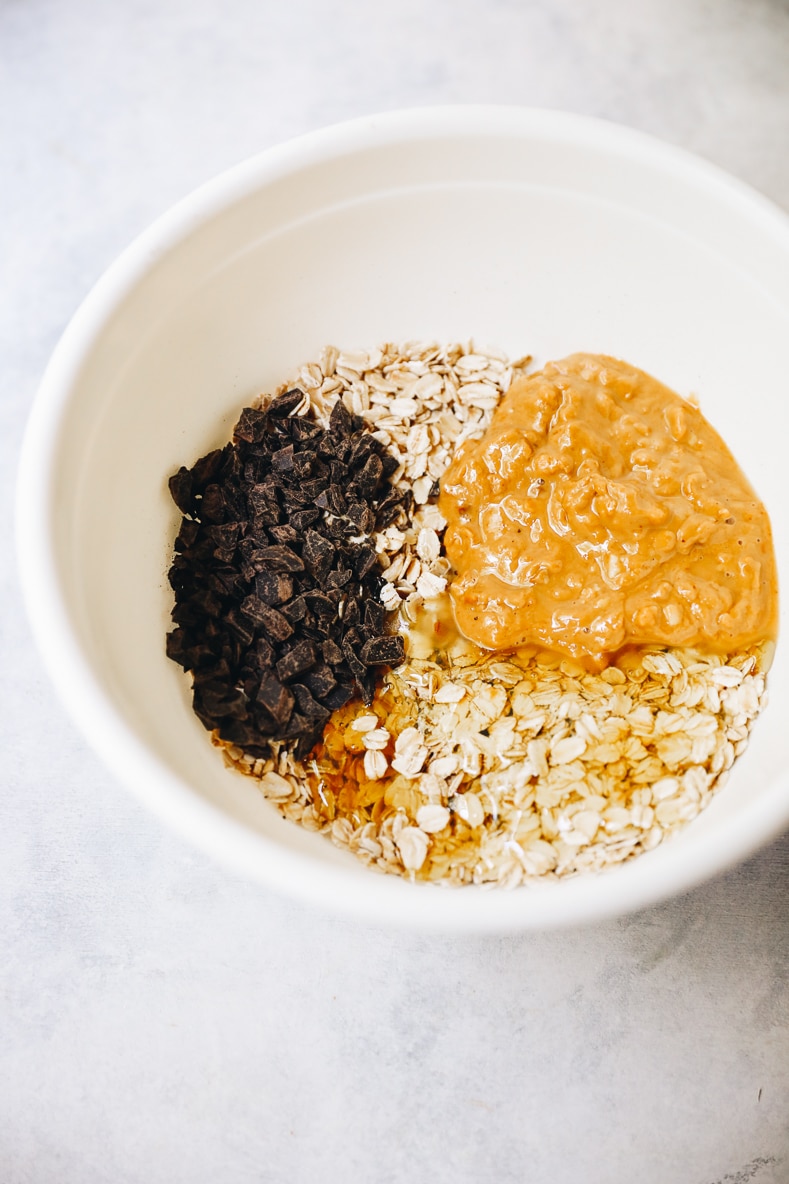
STEP 1: COMBINE ALL INGREDIENTS IN A LARGE BOWL
In a large mixing bowl combine rolled oats, chia seeds (or flaxseed), peanut butter, honey and optional chocolate chips. Add in 2 tablespoons of non-dairy milk and mix until batter is well coated. Let it sit for 2-3 minutes to allow oats and chia/flax to absorb some liquid. If batter is too dry add in another tablespoon of non-dairy milk.
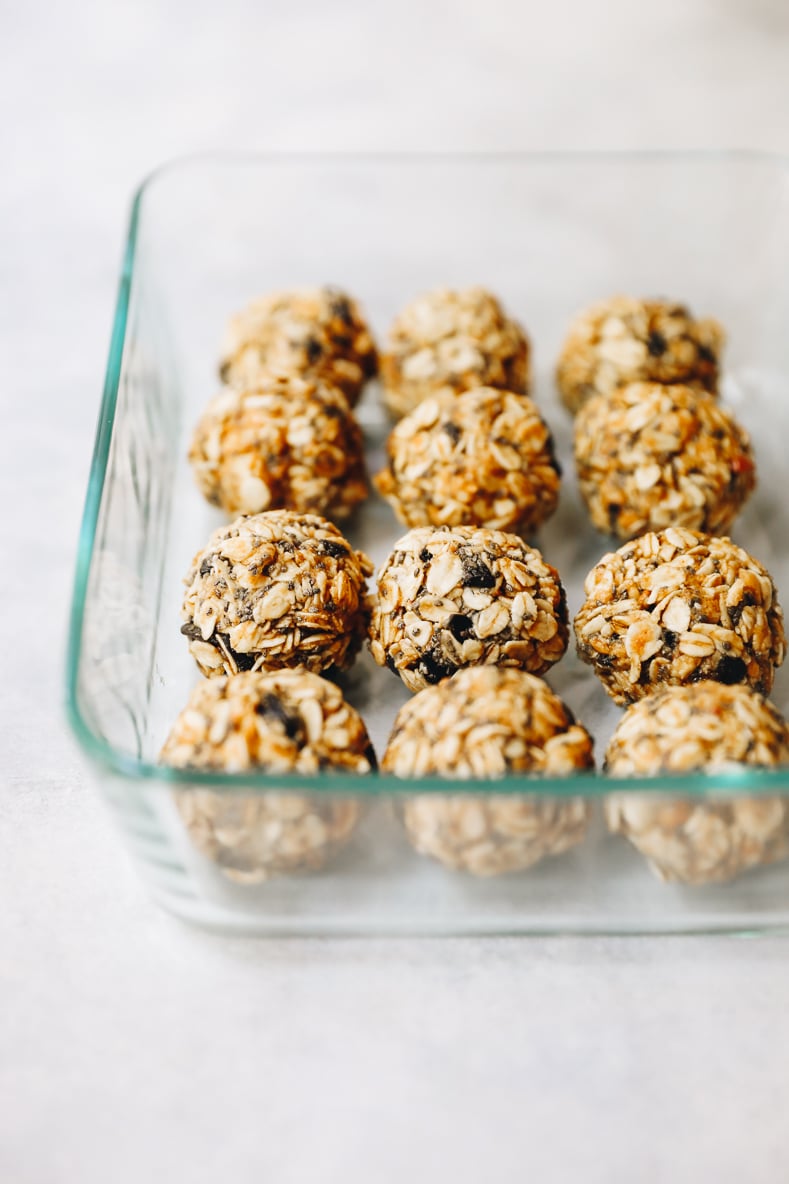
STEP 2: ROLL INTO BALLS + FREEZE
Once batter is thick but sticky use your hands to roll it into golf ball sized balls (roughly 1-inch balls). This recipe should yield about 15 energy balls. Place in the freezer for 15 minutes to harden then move to refrigerator for long-term storage. Or see instructions below for freezer storage.
Easy Swaps + Substitutions
What I love about these peanut butter energy balls is that they’re a great source of protein without the need for any protein powder. They’re also gluten-free and dairy-free. But if you need to make a few swaps, here are some suggestions:
- Replace the peanut butter – if you’re allergic to peanuts or only have other nut butters on hand, you can easily replace the peanut butter with other nut or seed butters.
- Replace chia seeds for flax seeds – if you don’t have chia seeds, you can use equal amounts of flax seeds.
- Substitute chocolate chips with dried fruit – you can sub in dried fruit like cranberries, raisins or blueberries in place of the chocolate chips.
- Use water in place of non-dairy milk – it’s not the most ideal as far as flavors go, but you can use water in place of non-dairy milk if you’re in a pinch!
And since I know you’ll ask, I highly do NOT recommend replacing the honey with maple syrup. If you’d like a vegan substitute you can use brown rice syrup.
Storage Instructions
Refrigerator: These peanut butter protein balls will last in the fridge in an airtight container for up to 2-3 weeks…but trust me they won’t last that long.
Freezer: Yes you can freeze these energy balls! Just place them in a ziplock bag and freeze for up to 3 months. Allow to thaw on the counter for 15-20 minutes before eating.
More Energy Ball Recipes:
- No-Bake Protein Oatmeal Energy Balls
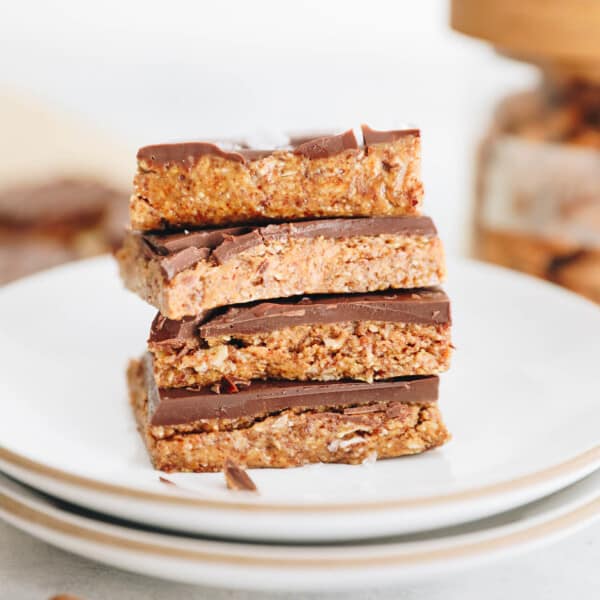
- No-Bake Tahini Chocolate Energy Balls
- Chocolate Peanut Butter Pretzel Energy Balls
- Almond Joy Energy Balls
- Lemon Hemp Energy Bites
- Chocolate Matcha Energy Balls
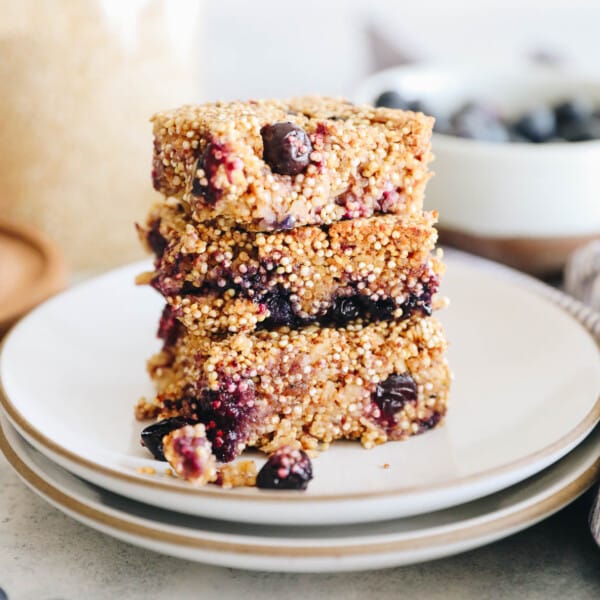
- Blueberry Muffin Energy Balls
Peanut Butter Energy Balls

Just 5 ingredients are all you need to make these delicious and simple peanut butter oatmeal energy balls! They’re completely no-bake and ready in under 20 minutes – plus only one bowl required.
- Prep Time: 5 minutes
- Cook Time: 0 minutes
- Total Time: 20 minutes
- Yield: 15 balls 1x
- Category: Snack
- Method: Raw
- Cuisine: American
- Diet: Gluten Free
Ingredients
- 1 1/2 cups rolled oats
- 2 tbsp chia seeds OR ground flaxseed
- 1/2 cup natural peanut butter (or any nut butter)*
- 3 tbsp raw honey
- 2–3 tbsp non-dairy milk
- optional: 1/4 cup chopped chocolate or mini chocolate chips
Instructions
- In a large bowl combine rolled oats, chia seeds (or flaxseed), peanut butter, honey and optional chocolate chips.
- Add in 2 tablespoons of non-dairy milk and mix until batter is well coated. Let it sit for 2-3 minutes to allow oats and chia/flax to absorb some liquid. If batter is too dry add in another tablespoon of non-dairy milk.
- Once batter is thick but sticky use your hands to roll it into golf ball sized balls.
- Should yield about 15 energy balls.
- Place in the freezer for 15 minutes to harden then move to refrigerator for long-term storage.
- Will last up to 3 weeks in the refrigerator.


How many carbs in each ball?
Do you know the macros for each ball? How much protein? Fat? Etc.
macros?
SO SO SO GOOD!!!
So glad to hear that!
How many calories are these?
I counted up 146 calories per ball.
Even if not made with chocolate chips?