This page contains some affiliate links. Please review my disclosure policy.
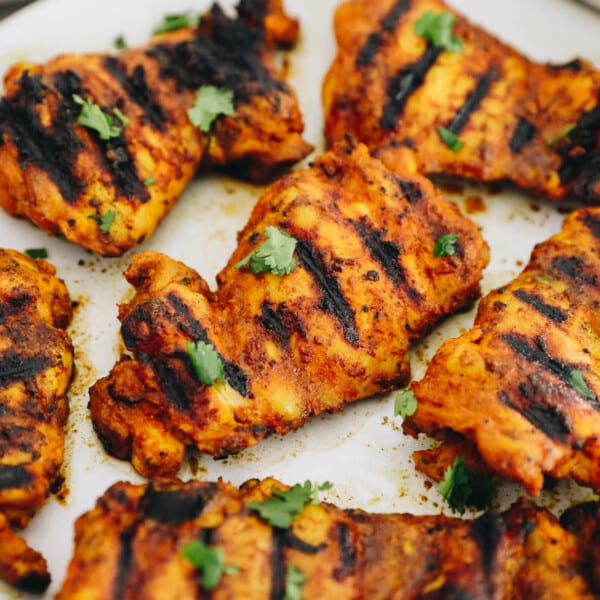
Celebrate your inner child with these Baked Buffalo Chicken Tenders. Made with almond meal, egg and hot sauce, this is a simple recipe for chicken fingers that you can serve for weeknight dinners or for a healthy kids meal.
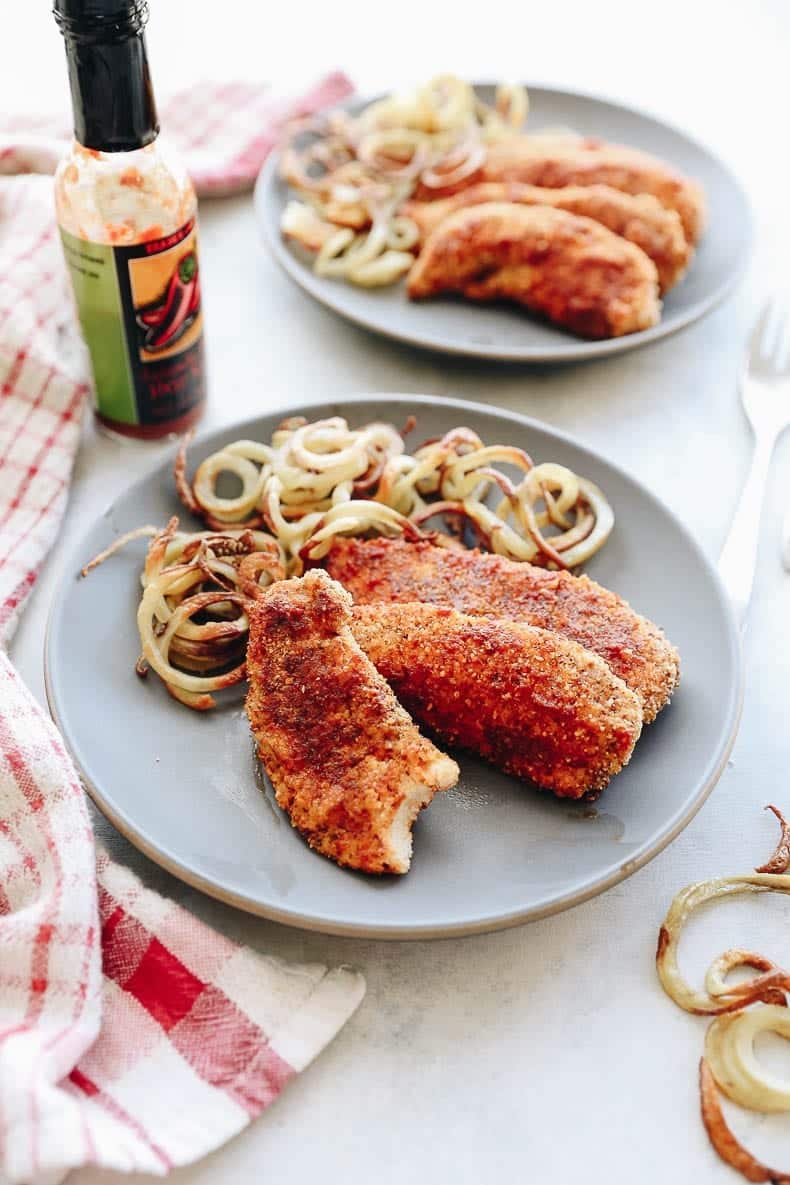
Perfect Baked Chicken Tenders
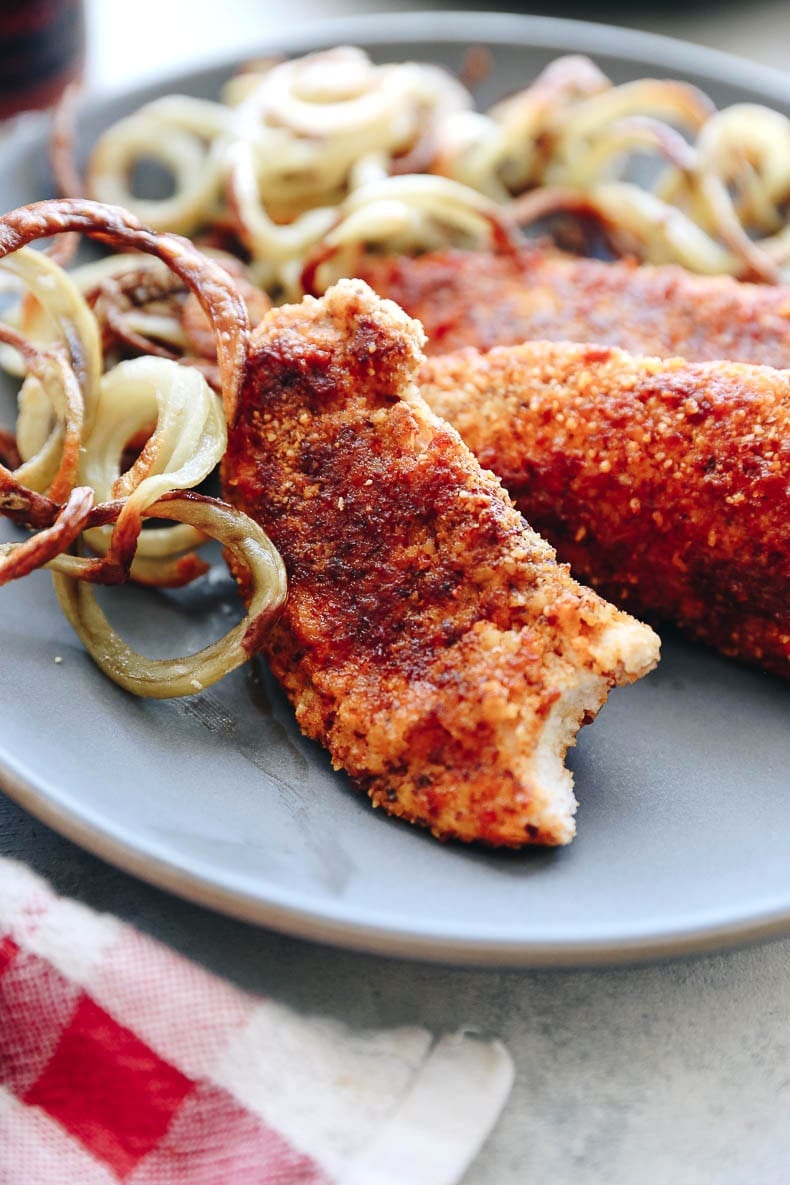
These are the best baked chicken tenders for a couple of reasons… they are packed with flavor and have a perfectly crunchy coating on them. The secret? Added flavor in each step. Instead of dredging your chicken breasts in a plain egg, mix the hot sauce with the egg. Instead of just using plain almond meal, mix in spices with the almond meal.
Unlike traditional chicken tenders that require frying, these buffalo chicken tenders are baked and then coated in hot sauce for some added heat. Layers and layer of yummy goodness packed into one tender!
Ingredients In Buffalo Chicken Tenders
- Chicken breasts – boneless + skinless and cut into tenders or strips
- 1 egg – this helps to bind the coating to the buffalo chicken strips
- Hot sauce of choice – you can also use buffalo sauce in place of hot sauce
- Almond meal – make sure this isn’t almond flour! This is the coating for the chicken tenders. Almond meal is gluten-free (and low carb) but you could also substitute this with regular all-purpose flour or a gluten-free flour blend.
- Spices – garlic powder, chili powder, cumin, sea salt + pepper
- Butter – or ghee
How to Make Buffalo Chicken Tenders
STEP 1: WHISK EGG + MIX SPICES
Beat egg in a large bowl and combine with 1 1/2 tbsp hot sauce In a separate bowl combine almond meal and spices.
STEP 2: DREDGE + BAKE
Dip 1 strip into egg mixture with left hand and place into almond-spice mixture and mix to coat with right hand. Place onto a a parchment or silicone-lined baking sheet. Repeat with remaining strips. Bake for 20 minutes. Let cool on tray for 20 minutes

STEP 3: DIP IN SAUCE
In a large shallow pan, combine butter and remained 3 tbsp of hot sauce until melted and combined. Using tongs or a fork, dip each chicken finger into sauce and flip to coat on both sides. Place back into tray to let soak in mixture for 10 mins.
Easy Swaps + Substitutions
Make in the air fryer – Air fry in batches for about 7-8 minutes, flipping in air fryer basket halfway through. Coat in sauce after air frying
Use regular flour – don’t have almond meal or allergic to nuts? Feel free to replace almond meal with regular flour
Add a dipping sauce – Try a store-bought ranch dressing or blue cheese dressing for dipping
Make them extra crispy – Want them to be extra crispy? Bake chicken tenders on a wire rack place directly onto a baking sheet. This will help to bring air flow underneath chicken tenders while they cook.
How to Store Leftovers
Leftovers can be stored in an airtight container in the refrigerator for up to 5 days. Reheat in oven or in microwave.
You can also freeze these buffalo chicken tenders by laying them flat on a baking sheet and letting them freeze in the freezer for 3 hours. Remove and place into a ziploc bag for up to 3 months. Remove from freezer a few hours before planning to serve.
What to Serve With Chicken Fingers
My mind immediately goes to fries because that was my pairing of choice for pretty much my whole life! Here are a few suggestions:
- Healthy Baked French Fries
- The crispiest Sweet Potato Fries
- Homemade Curly Fries
- Baked Yucca Fries
- Wanna get crazy? Try asparagus fries!
Baked Buffalo Chicken Fingers

Celebrate your inner child with these Baked Buffalo Chicken Tenders. Made with almond meal, egg and hot sauce, this is a simple recipe for chicken fingers that you can serve for weeknight dinners or for a healthy kids meal.
- Prep Time: 10 minutes
- Cook Time: 20 minutes
- Total Time: 30 minutes
- Yield: 4 servings 1x
- Category: Dinner
- Method: Bake
- Diet: Gluten Free
Ingredients
- 1 1/2 lbs boneless, skinless chicken breasts, sliced into strips (or buy pre-sliced chicken tenders)
- 1 large egg
- 4 1/2 tbsp hot sauce of choice (reserve 3 tbsp for sauce)
- 2/3 cup almond meal (NOT almond flour)
- 1 tsp garlic powder
- 1/2 tsp chili powder
- 1/4 tsp cumin
- 1/2 tsp sea salt
- pinch of black pepper
- 1 1/2 tbsp butter (or ghee)
Instructions
- Preheat oven to 400 degrees F.
- Beat egg in a large bowl and combine with 1 1/2 tbsp hot sauce
- In a separate bowl combine almond meal and spices.
- Dip 1 strip into egg mixture with left hand and place into almond-spice mixture and mix to coat with right hand.
- Place onto a a parchment or silicone-lined baking sheet.
- Repeat with remaining strips.
- Bake for 20 minutes.
- Let cool on tray for 20 minutes
- In a large shallow pan, combine butter and remained 3 tbsp of hot sauce until melted and combined.
- Using tongs or a fork, dip each chicken finger into sauce and flip to coat on both sides.
- Place back into tray to let soak in mixture for 10 minutes.


Congrats for getting married. I hope you keep posting 🙂
Hope you won’t stop posting articles once you are married… this can’t be it for your blog post fans. lol
Davida Lederle sounds AMAZING! AHHH I’m so freaking excited for you! And to see Tanya and Georgia’s posts! Also I am so making this recipe in the next couple days. Yay for being back in my kitchen hehe.
I love finding ways to make a traditional kid’s meal into something adults can enjoy just as much. Yay for a more flavorful chicken finger recipe!
I bet you that these past few months–and this year, overall–has been so enlightening for you, thus far. I know that a LOT can happen in just a nick of time, but you should enjoy every single moment of it all! The wedding is probably going to be way too exciting for you. And the MOON, yes, haha! Congratulations once again!
All the best to you and C! Enjoy the adventure.
Hope you enjoy every second of your wedding! I’m with you in the planning but know once the time is here, it will be worth it. Enjoy!!!
Have so much fun and enjoy this time!! You are so right about wanting to be present in the moment 🙂
Thank you so much, lovely! “Be Present”. It’s my mantra for the week. So far so good 🙂
YESSSSS HAVE SO MUCH FUN and your married name sounds so fancy haha
AHHHH So crazy! It does sound fancy, eh? It’s definitely going to take some getting used to!
Happy wedding week! I can’t wait to see and hear all about your special day! Enjoy every moment xo
Thank you so much babes!!