This page contains some affiliate links. Please review my disclosure policy.
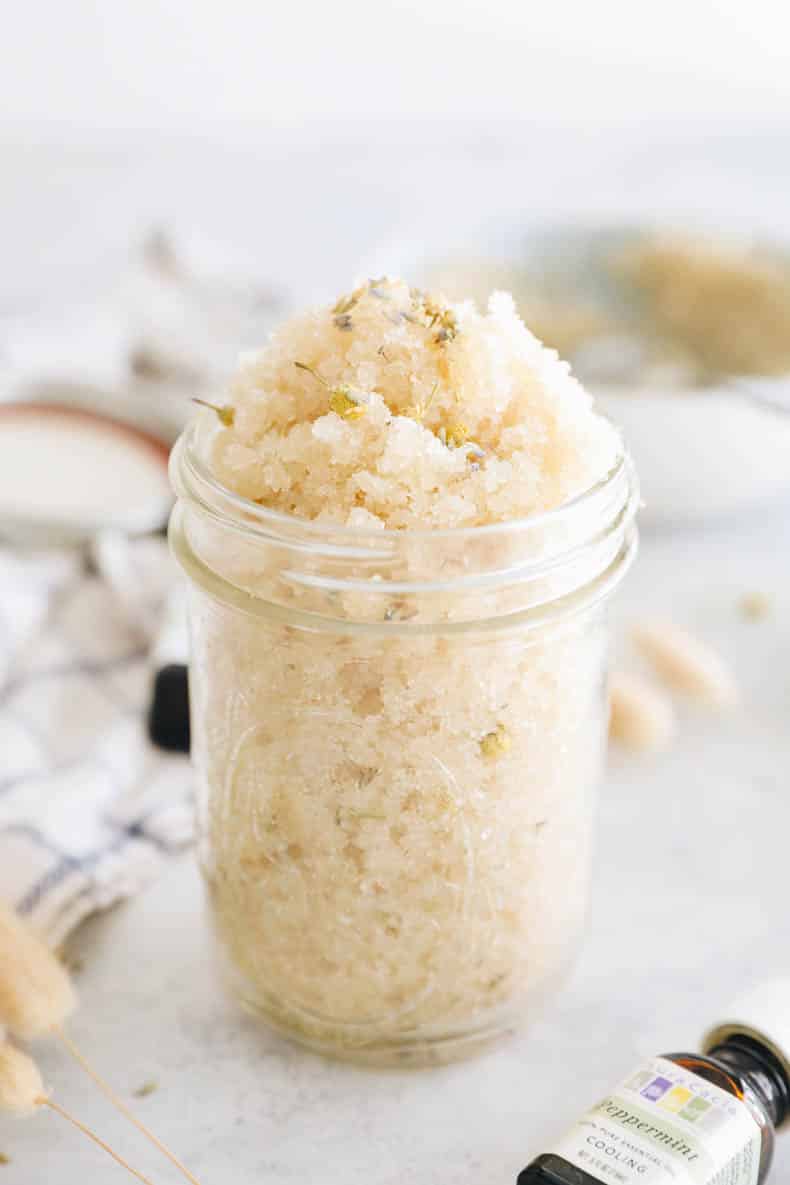
Looking for an easy and basic sugar scrub recipe that you can make at home? This DIY sugar scrub recipe comes together quickly and makes for a wonderful gift for the holidays or spa day activity for yourself!
What is a Sugar Scrub?
A sugar scrub is a type of body scrub that can be used in the shower to exfoliate and remove dry skin. Dead skin cells can accumulate over time and it’s best for the health of your skin to remove them.
A sugar body scrub is essentially a combination of sugar and an oil that can be applied all over skin to remove excess dead skin and keep your body moisturized and functioning well.
Sugar Scrub vs. Salt Scrub
Salt scrubs tend to be a bit more abrasive on the skin so if you have sensitive skin, I would stick to a sugar scrub like this one. However if you’re looking for something a bit more intense, salt scrubs are the way to go. There are certain vitamins + minerals in sea salt that are absorbed by the body when using a salt scrub of which there aren’t nearly as many in a sugar scrub. But both are effective exfoliants.
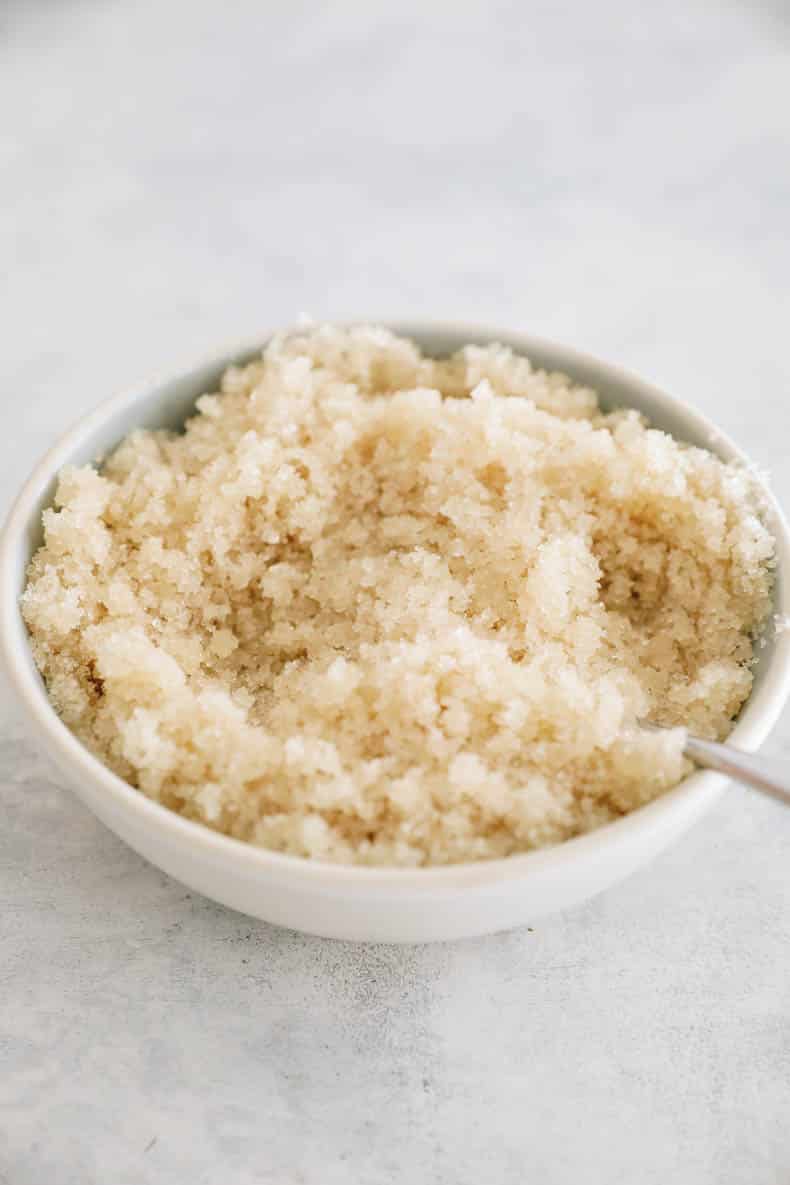
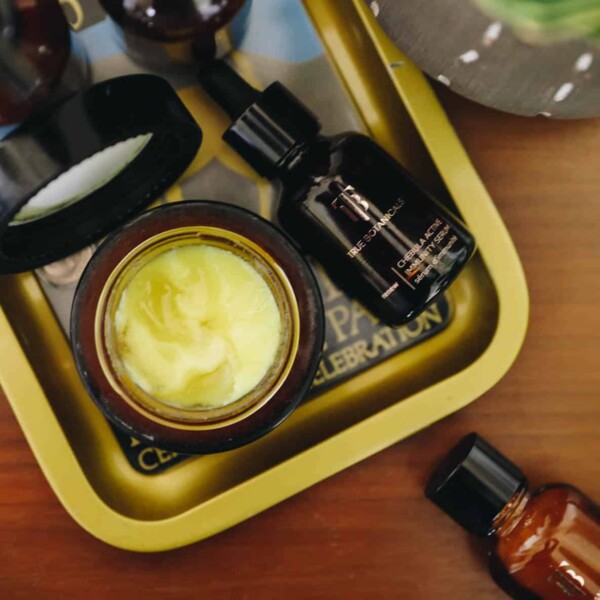
Ingredients in a Basic Sugar Scrub
The basic homemade sugar scrub recipe is 2 cups of sugar to 1/2 cup of oil. There are a couple different variations I suggest (see below) but if you’re just wanting to get to the basics, 2 cups of white sugar to 1/2 cup of carrier oil has you covered.
Sugar – there’s a couple different varieties of sugar you can use in your own sugar scrub. My personal preference is for basic cane sugar but feel free to use what you have.
- Cane sugar– this is your classic “white sugar” that you’ll find at most grocery stores. I find this is the best coarseness for both exfoliating and moisturizing.
- Brown sugar – some people prefer to use brown sugar because it’s less refined but this really doesn’t make much of a difference when applying to skin. For a similar brown sugar scrub texture you can use coconut sugar.
- Turbinado sugar – this is a very coarse, less-refined type of sugar. I find these sugar granules to be a bit harsh so I tend to prefer other varieties but this works if that’s all you have.
Carrier Oil – you’ll need a carrier oil to mix in with your sugar. My personal preference is coconut oil but any of these varieties work. Truly all of these are interchangeable and it’s just about preference or accessibility.
- Coconut oil (regular or fractionated)
- Olive oil
- Avocado oil
- Jojoba oil
- Sweet almond oil
- Grapeseed oil
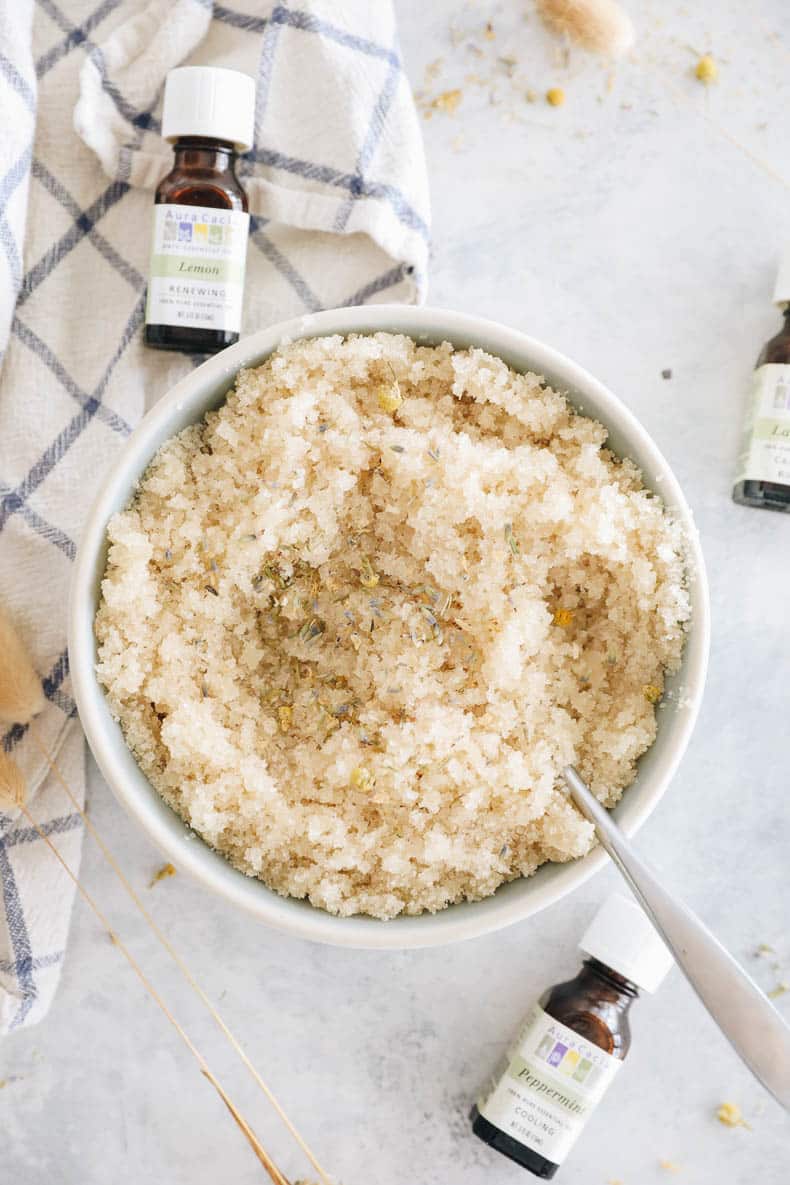
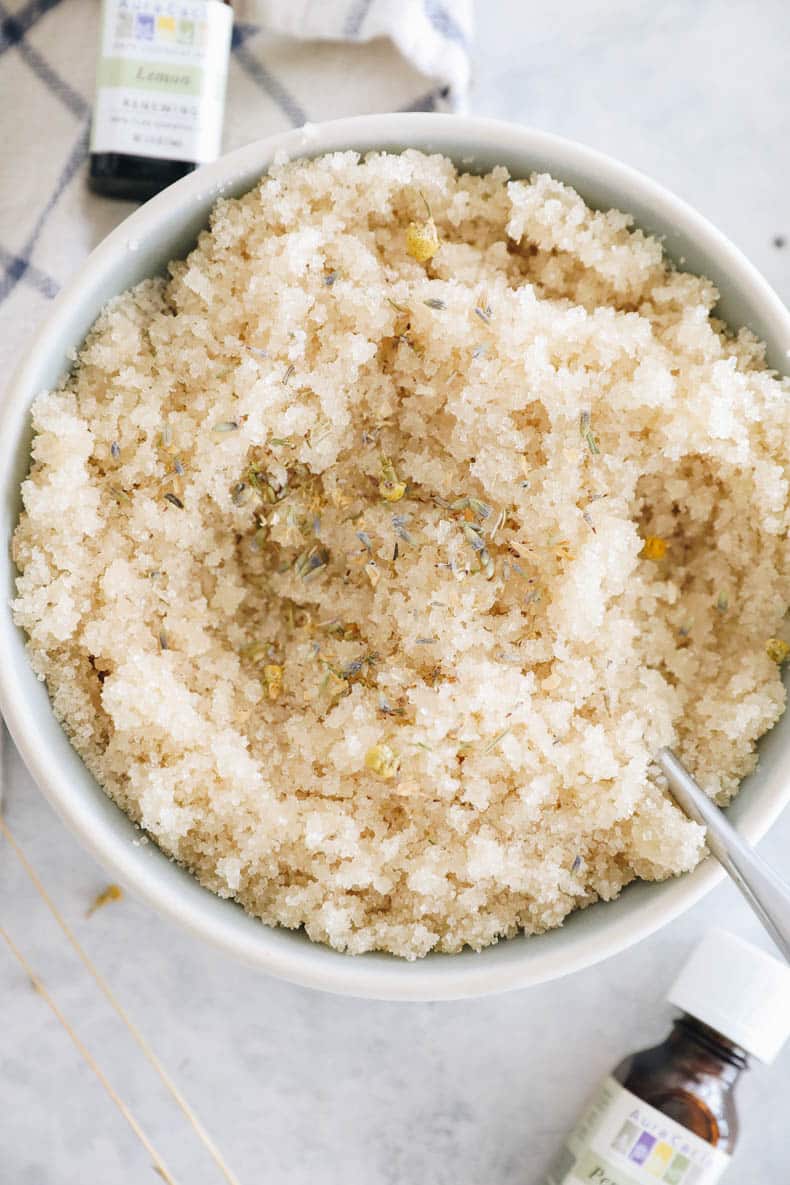
Essential Oils/Scents (optional) – This sugar scrub will work without the addition of any scents or essential oils. However if you’re looking for the therapeutic benefits of essential oils or a particular scent you like you can certainly add some. I prefer using natural scents from essential oils, spices or extracts rather than fragrances.
- Lavender essential oil – roughly 10 drops.
- Citrus essential oils – lemon, lime, orange or grapefruit essential oils are all great options. You’ll want to use roughly 10 drops.
- Peppermint or Eucalyptus essential oils – both offer that spa-like experience. I’d start with 5 drops and increase as desired.
- Spices – cinnamon, ginger, clove etc…
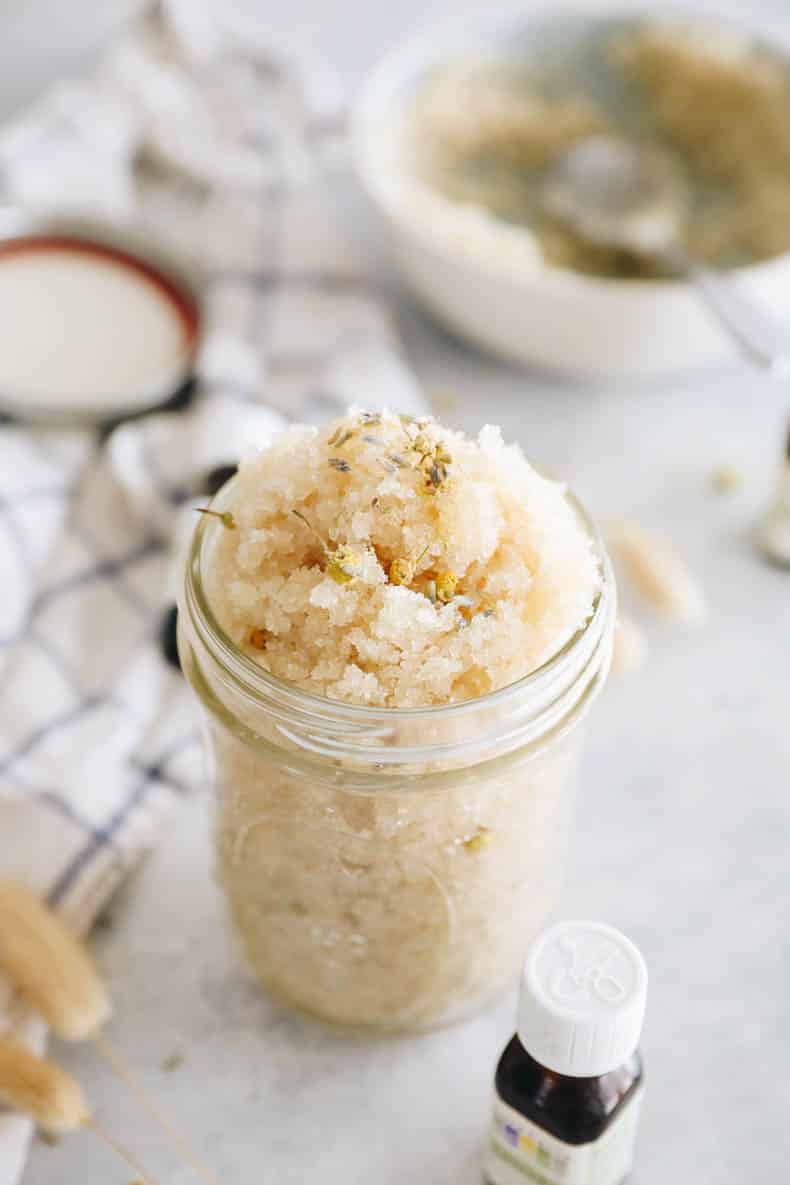
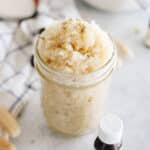
How to Make Homemade Sugar Scrub
- COMBINE SUGAR + OIL
Mix together sugar and carrier oil in a medium bowl until well combined.

- ADD SCENT (IF DESIRED)
Add in essential oils or optional add-ins until desired scent. Store in a sealed mason jar or airtight container with a tight-fighting lid at room temperature until ready for use.
How to Use a Sugar Scrub
Before applying your body scrub you’ll want to turn your shower on and close the door or curtain to let steam build. This will help open up your pores and allow the DIY sugar scrub to maximize its effect. Wet your body with the warm water.
Grab roughly a tablespoon of this sugar scrub recipe and begin scrubbing over a section of your body in circular motions. Use more as needed.
I prefer not to use this sugar scrub on my face as I find it too abrasive but if you’d like to use it on your face, you can.
Use 2-3 times a week consistently for best results.
Sugar Scrub Recipe Variations
Citrus Sugar Scrub
I really love the freshness of a lemon sugar scrub (it smells like a lemon sugar cookie too!)
- 2 cups of preferred sugar
- 1/2 cup carrier oil
- 10 drops lemon essential oil (you could also use orange, grapefruit or lime)
- zest of 1 lemon (or other citrus zest)
Peppermint + Eucalyptus Sugar Scrub
- 2 cups of preferred sugar
- 1/2 cup carrier oil
- 5 drops peppermint essential oil
- 5 drops eucalyptus essential oil
Vanilla Lavender Sugar Scrub
For a relaxing spa experience, try out this vanilla lavender sugar scrub.
- 2 cups of preferred sugar
- 1/2 cup carrier oil
- 1/2 tsp vanilla extract
- 10 drops lavender essential oil
Storage Instructions
Your homemade sugar scrub recipe will last for at least 6 months (if not longer) if stored in an airtight container at room temperature. Separation may occur. You can easily remix with a spoon or in your hands right before you apply it.
*Storage Tip
To help preserve the shelf-life of your sugar scrub you can add a drop of vitamin E oil which works as a natural preservative.

More Self-Care DIYs:
- DIY Lip Scrub
- Homemade Salt Scrub
- How to Make Natural Deodorant
- DIY Bath Salts Recipe
- DIY Gingerbread Sugar Scrub
- How to Make Homemade Rose Water
Homemade Sugar Scrub Recipe
Looking for an easy and basic sugar scrub recipe that you can make at home? This DIY sugar scrub recipe comes together quickly and makes for a wonderful gift for the holidays or spa day activity for yourself!
- Prep Time: 2 minutes
- Cook Time: 0 minutes
- Total Time: 2 minutes
- Yield: 6 uses 1x
- Category: Bodycare
- Method: Mix
Ingredients
- 2 cups cane sugar (see sugar alternatives above)
- 1/2 cup coconut oil (see oil alternatives above), melted
- 10 drops essential oil or other add-ins (see options above)
- Mason jar(s) for storage
Instructions
- Mix together sugar and coconut oil in a medium bowl until well combined.
- Add in essential oils or optional add-ins until desired scent reached.
- Store in a sealed mason jar or airtight container at room temperature until ready for use.
- When using: scoop out desired amount and scrub onto clean, damp skin. Wash off completely.
- Use 2-3 times a week for best result.


What’s the portion ratio to the sugar and to the oil in a 4 oz squeeze bottle?
How many ounces does 1x batch make? I want to know what size jar to use.
Thank you!
Really easy to make and fits perfectly into the sugar hut container to be sustainable 🙂 Loved how it made my skin feel supple and hydrated after use!
looks easy and great to make at home. maybe take a pill on the sugar but other wise a super great recipe. does great exfoliation.
I used this recipe in the 1/4, 1/2 format for this experiment.
I tried this recipe in two different formats to test each one. With one I put 1/4 cups coconut oil, as the recipe states, and 1/2 cups sugar. The other I put 1/4 cups olive oil and 1/2 cups sugar. Just to make sure the test was not a gimmick, I also put in a control variable which was just made of sugar, nothing added in. I put the control on one of my legs with the olive oil on half a leg and the coconut on the other side of the same leg. I did this so it would be easier to feel the line of difference between them.
These were my findings under a warm shower (after shaving):
CONTROL – SUGAR:
Smell: n/a
Grease factor while showering: –
Grease factor after showering: –
Exfoliation/roughness: Quite rough in use, but easy to wash off.
After shower feel: It felt smooth but dry.
COCONUT OIL:
Smell: It smelled like coconut as one would expect. I found it quite nice.
Grease factor while showering: It was not as bad as you would expect. While I was making the mixtures I thought this was going to go horribly because of how greasy it would feel when I tried to wash my hands. While showering there was a totally different feeling, it was really relaxing and nice, not too abrasive.
Grease factor after showering: My skin feels smooth. On the leg that I used the olive oil scrub it feels like there is a light moisturizer on it, but on the coconut side it is definitely a thicker layer. It is not a bad thing and it definitely feels better than just the sugar!
Exfoliation/roughness: It was not rough at all! It was really smooth to scrub on but you could feel the sugar working its magic with exfoliating.
OLIVE OIL:
Smell: Let me just warn you that it does NOT smell good. While making it the olive oil smelled so bad and I thought I was going to hate it. While showering the smell was quickly washed off and there was nothing left.
Grease factor while showering: It was easy to apply and did not feel as greasy as I would normally expect. Truly surprised!
Grease factor after showering: There was definitely a difference in the thickness of the “moisturizer”. This one was definitely a lighter feeling after showering and drying off.
Exfoliation/roughness: It did not feel like it was exfoliating as much as the other two did but it was very smooth to put on and rub.
Overall I am impressed with my findings and I hope this will help you too!
Should you wash your body with shower gel before or after using this body scrub? Thanks!
I do the coconut sugar scrub and put a little castille soap in it. I also add essential oil for scent (depending on the season which scents I use) and a little vitamin E oil.