This page contains some affiliate links. Please review my disclosure policy.
Start here…
PART 1: Growing Seedlings
PART 2: Building Raised Beds
It’s been almost two months since my last garden update and wow do I have a lot to update you on! It’s funny because very little has actually happened with the garden (still no veggie or fruit production yet!) but the amount I have learned makes up for that. Definitely a newbie gardener here! Which I hope can serve as a reminder that these posts are meant to be written from that perspective – I generally have very little idea what I am doing!
As I mentioned in my first Garden Diary post, my desire to start a garden led me down a rabbit hole of expert gardeners giving advice that felt FAR beyond anything I could comprehend. Which is why I decided to share this series – I wanted a place that documented learnings + experiments in gardening from someone who has never actually kept a garden before. So it should come as no surprise that I’ve learned a lot over these past few months and have had a couple pretty epic failures. Fortunately these set-backs haven’t put me off gardening. If anything it’s made me want to plant more things! So with that let’s go through a couple of these updates….
When I last left you C had just built the raised bed in our backyard and we had added our soil. Per my first update, we had a bunch of seedlings growing indoors that would be ready for transplanting in a few months (aka nowish). But before I get into transplanting I want to share a couple of updates with you.
UPDATE 1: Growing from seed is ambitious…and you should start early
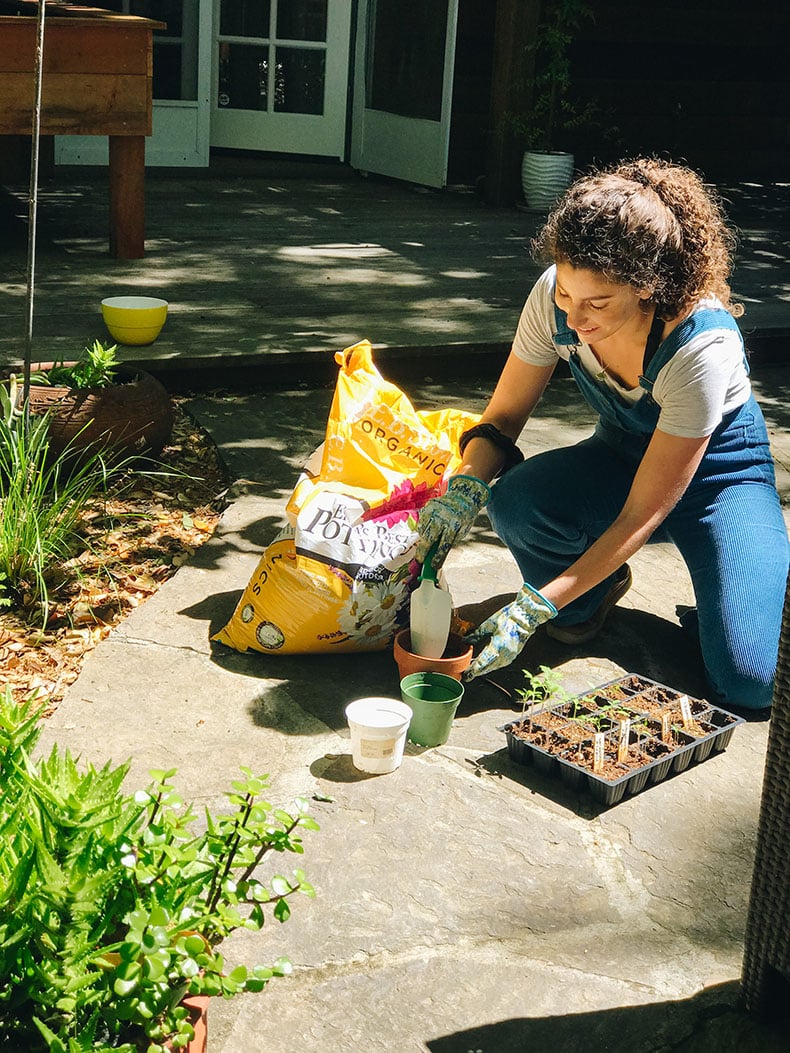
A part of me felt like it was cheating going to the nursery to pick up seedlings so I decided I’d grow all my produce this year from seed. I’m coming to realize how ambitious this is. First off, growing seedlings indoors requires a lot of space if you want to grow a lot of different types of produce. We have officially taken over a corner of our house, which both of us are fine with but we definitely didn’t fully understand what we were getting into. Also, I now understand why you need to start your seedlings early (i.e. late January-February) and especially here in Nor Cal where we don’t have a frost. Had I started earlier we’d probably have fruit bearing plants right now…but it’s good to know for next year!
There’s a decent chance we still end up going to the nursery to pick up some seedlings since we’ve had a few casualties. We also have a long growing season here so even if we plant now we’re likely still going to get some produce into November. Stay tuned!
UPDATE 2: Time the amount of light you get
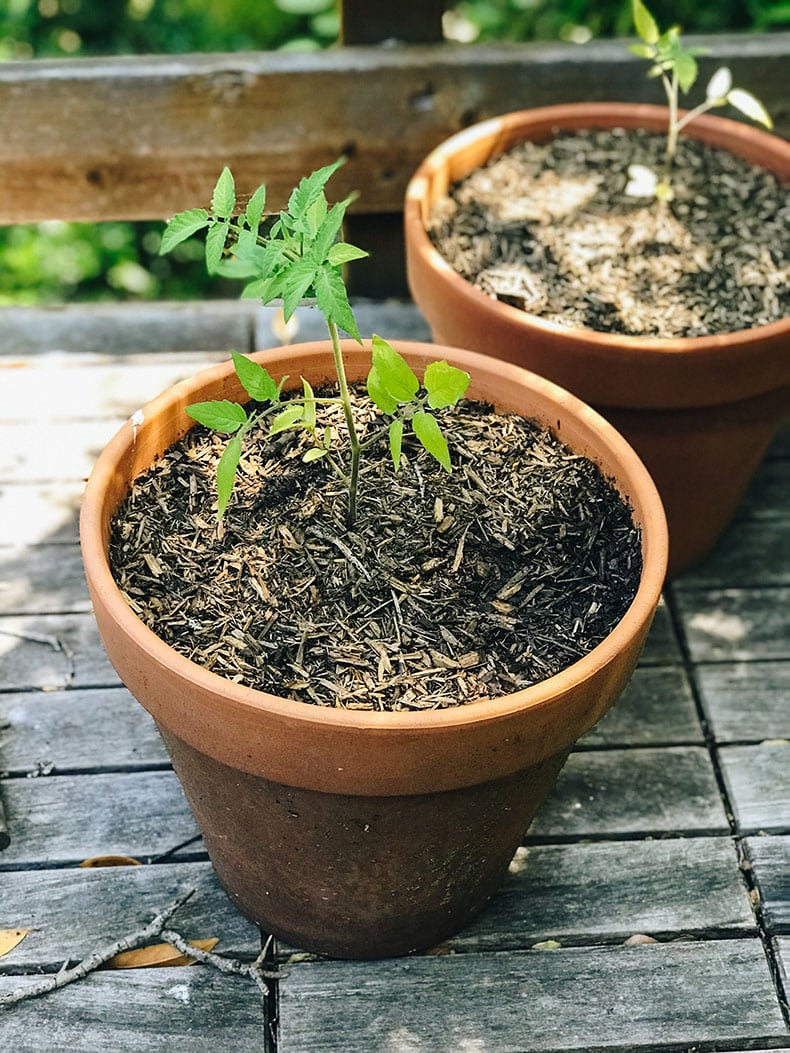
Remember how I said we don’t get great light in our backyard due to tree cover? I wish I had actually timed the amount of light we get because our garden bed is not doing so hot. Some plants have been doing really well and others, not so much. We also have a back patio off one of the bedrooms which gets a ton of sunlight but I was resistant to putting plants on it as I thought it would be a hassle. In the end, our tomatoes + snap peas were transplanted up there into pots and are doing SUPER well – so yeah, I might be regretting the backyard garden thing…
UPDATE 3: Heirlooms are hard
I shared this in my first update, but a lot of my seeds were purchased at the heirloom seed festival that Jess and I went to last year. Sadly, some of my heirloom seeds (particularly the tomatoes + lettuces) have had a hard time germinating or surviving. I’ve come to learn that heirloom seeds are temperamental (hence why they’re special) and require a lot of specific attention. My indoor seed set-up doesn’t allow for a lot of individual attention so I haven’t had much success with them but I may give them another shot soon.
UPDATE 4: You can’t control heat waves
News flash! You can’t control the weather…ugh. We had two pretty big heat waves here in the last few weeks which absolutely decimated my lettuce seedlings + some of my herbs. It required a lot more watering than is typical and the heat just wasn’t their jam. I’m coming to terms with this being part of the growing process and trying my hand at planting them again.
UPDATE 5: HOLY MUSHROOM
Guys…I absolutely freaked out when I woke up one morning to a huge mushroom growing in our garden bed. I texted Meg and she told me it’s totally normal and that it’s a sign of healthy soil. It’s just so crazy how they pop up out of nowhere and they’re huge! We’ve since had a couple more and so I’ve been pulling them and tossing them in the trash so that the dogs don’t get to them.
UPDATE 6: We’ve had some success!
It’s not all failures around here. We’ve actually had some pretty great successes! Our biggest successes are the cherry tomato plants, sugar snap peas, kale, pepper plants, carrots, bok choy and even chamomile. I’ll share some more about each of these below…
TRANSPLANTING
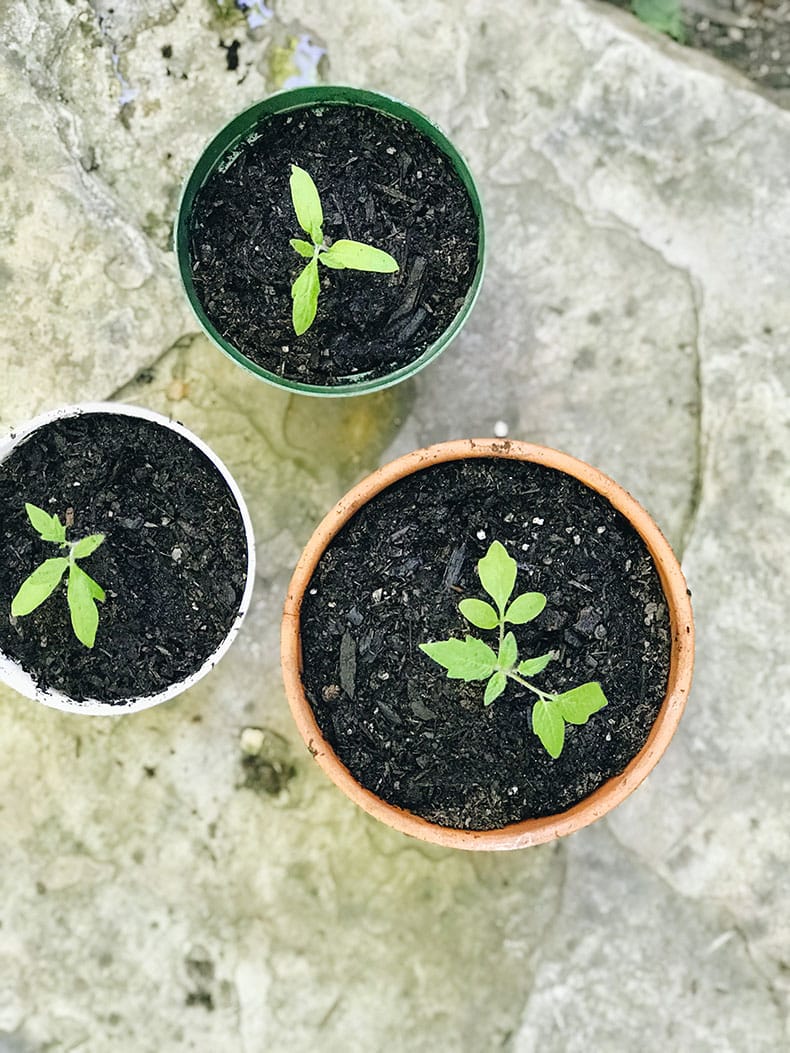
I’ll be honest, I knew nothing about transplanting plants before I actually had to do it. Apparently if you are growing from seed there is a whole process to going from a baby seedling to actually being planted outside. You obviously skip this step if you’re picking up seedlings from your nursery. That being said, it’s been super rewarding to see something you planted from a tiny seed grow into a full fledged plant. But of course it requires a lot of love and attention for it to get there.
Not all plants need to be grown indoors and transplanted. Some can be direct sown. My bok choy, carrots (which I also grew some indoors) and snap peas were all direct sown so I didn’t need to transplant them. My tomato + pepper plants on the other hand were germinated indoors + then transplanted outdoors.
Based off my learnings, both tomatoes + pepper plants do really well with a two-part transplant process. This is because they can actually grow roots from their stems so if you want a super strong and healthy plant, it’s recommended you transplant it twice. Once to a larger pot indoors and then to a bigger pot or garden bed outdoors. With each transplant you will bury the stem as deep as possible so the first set of true leaves are just above the soil line.
Where we’re at in this process: my tomato plants have all been twice transplanted and are thriving in pots outside. My pepper plants are on their first transplant indoors and are continuing to grow. Once they are a bit sturdier and have a couple more leaves I’ll transplant them to pots outside on our back patio. My kale was transplanted directly into the garden bed because it’s pretty hardy and doesn’t need a double transplant.
*note: we know we need to purchase tomato cages for our tomato plants! Just haven’t been to the garden store in a while.
HARDENING OFF
Another thing I knew nothing about before my adventures in gardening! For many plants, transplanting can only happen once you’ve “hardened off” your seedlings. Now if you’re buying seedlings from a nursery you can also skip this step but if you’re growing your own seedlings, your babies have been coddled indoors for quite some time and need to get used to the temperamental nature of the great outdoors. This is called “hardening off”.
Generally hardening off takes place over a week’s time and requires just a little bit of organization. Each day you will take your plants outside to a shady spot and let them get used to the outdoors. On each subsequent day you will add another hour i.e. Day 1: 1 hour outside, day 2: 2 hours outside etc…until your plants have been outside for at least 7 consecutive hours. Now your plants are ready to be transplanted outside!
NEXT STEPS
Next steps is really just sitting back and letting the plants thrive! Some plants will need their second transplants (mainly the peppers) but mostly it’s just a lot of waiting, watering, fertilizing (if necessary) and hoping for the best! Hopefully my next update will be some actually produce yields!
We will also most likely be buying some small over the railing beds for some lettuce later in the summer when things have cooled off a bit.
Hopefully these posts can be helpful for you as you navigate your own gardening journey. I’m very excited to see where this all goes…Stay tuned!

RESOURCES
I have consulted countless resources but these are the ones that have been the most helpful:
The Well Essentials Beginner Gardener Course
Garden Betty
Gardeners Supply Company – Garden Planner