This page contains some affiliate links. Please review my disclosure policy.
Ditch the store bought chicken fingers and whip up these healthy grain-free chicken fingers at home. They’re easy and baked so no messy frying or clean-up! A perfect meal kids and adults alike will love.
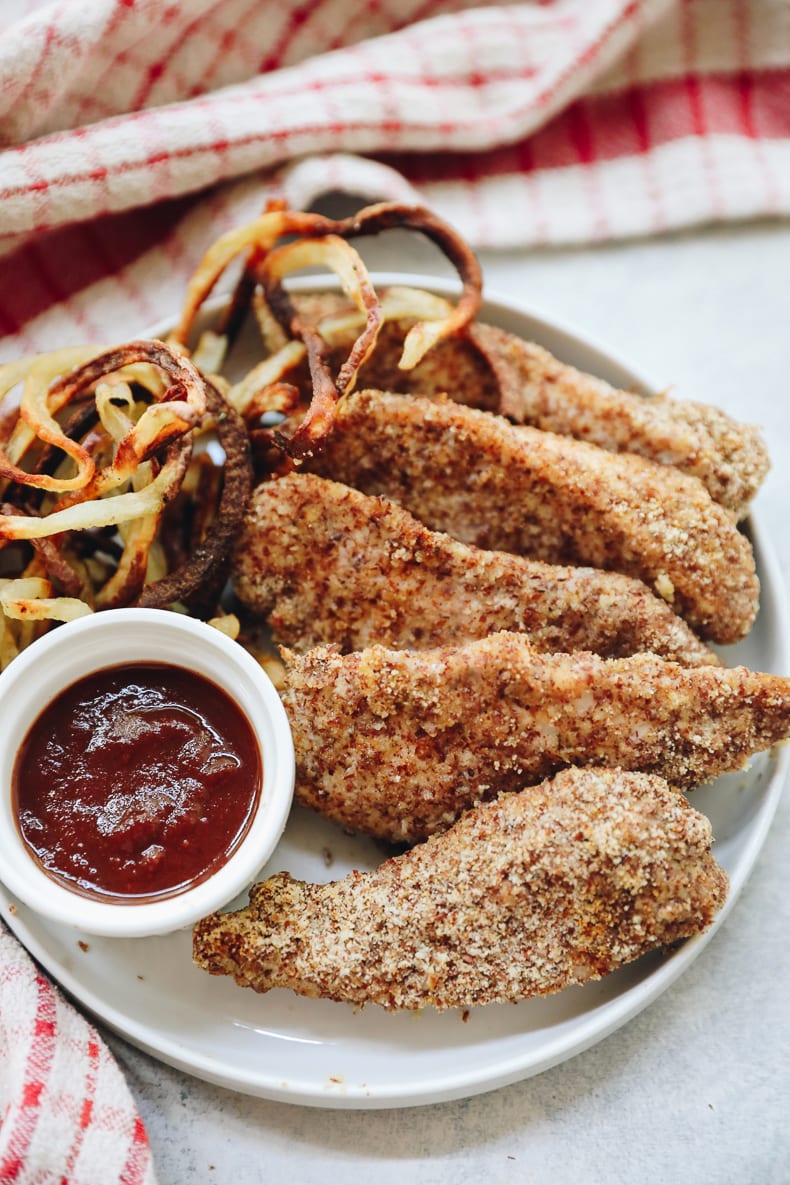
Table of Contents
How many chicken finger recipes can a girl have on her website? Don’t answer that. I love chicken fingers and will continue to make variations as long as I please! These grain-free chicken fingers are super simple to throw together and amazingly crispy. They’re also one of the first recipes I tested in our new house!
I mean it’s totally normal to put a new oven to the test with your classic grain-free chicken fingers recipe, right?! To be honest, this recipe is a hack on my cashew-crusted chicken fingers because people kept asking if they could use almond meal instead of cashew meal (or ground cashews).
So to answer your question: YES! You can absolutely use almond meal to make chicken fingers. In fact, I highly recommend it! Let’s get into the recipe…
Here’s What You’ll Need:
- Chicken breasts – If you want to take a shortcut you can also buy chicken tenders. Otherwise you’ll just cut the full breast into strips which takes less than 2 seconds!
- Egg – Needed to bind the “breading” to the chicken.
- Almond meal – Almond meal is more finely ground than almond flour – make sure you reach for almond meal!
- Spices and seasoning – garlic powder, chili powder, cumin, and sea salt.
Tips for Baking Your Chicken Fingers
1. Start by mixing together all of your dry ingredients.
2. In a separate bowl whisk your egg.
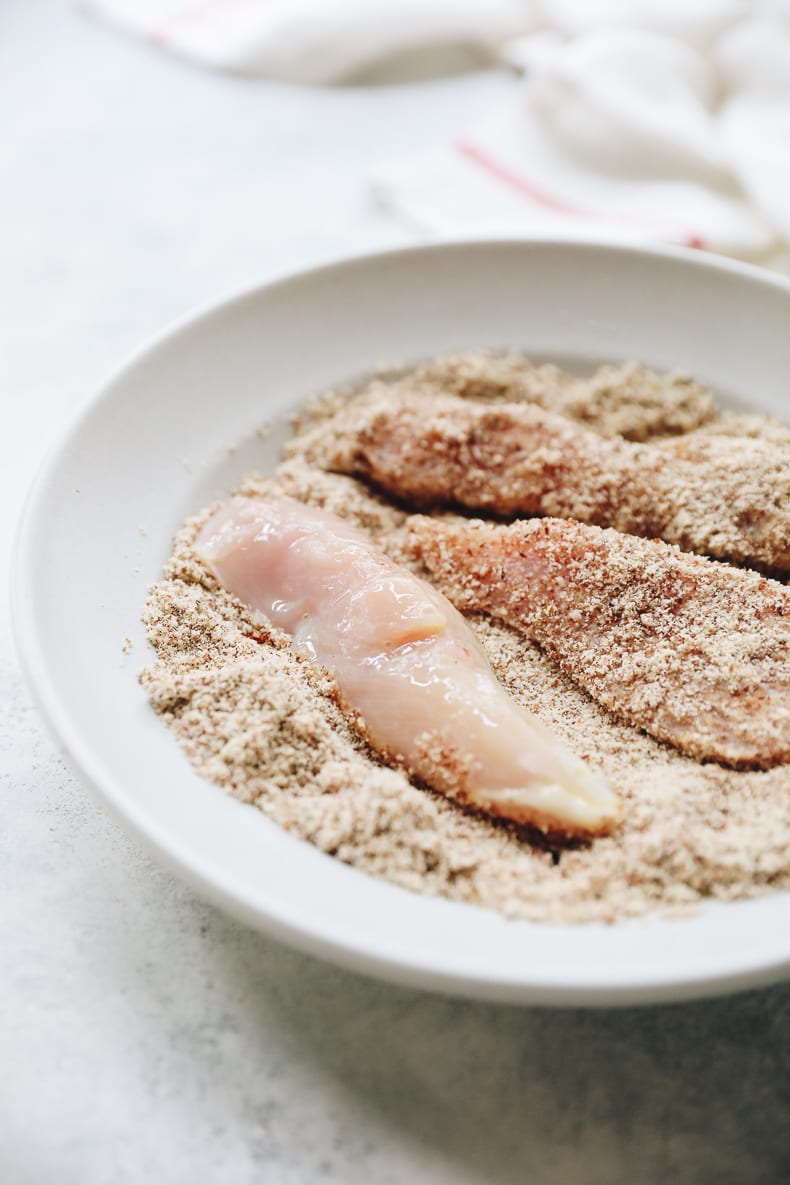
3. Using one hand dip the chicken strip in the egg, then drop it in the almond meal mixture.With the other hand, stir the chicken finger around in the almond meal mixture. This will ensure your hands don’t get all sticky!
See tips below for how to make your grain-free chicken fingers crispy!
How to Make Them Crispy
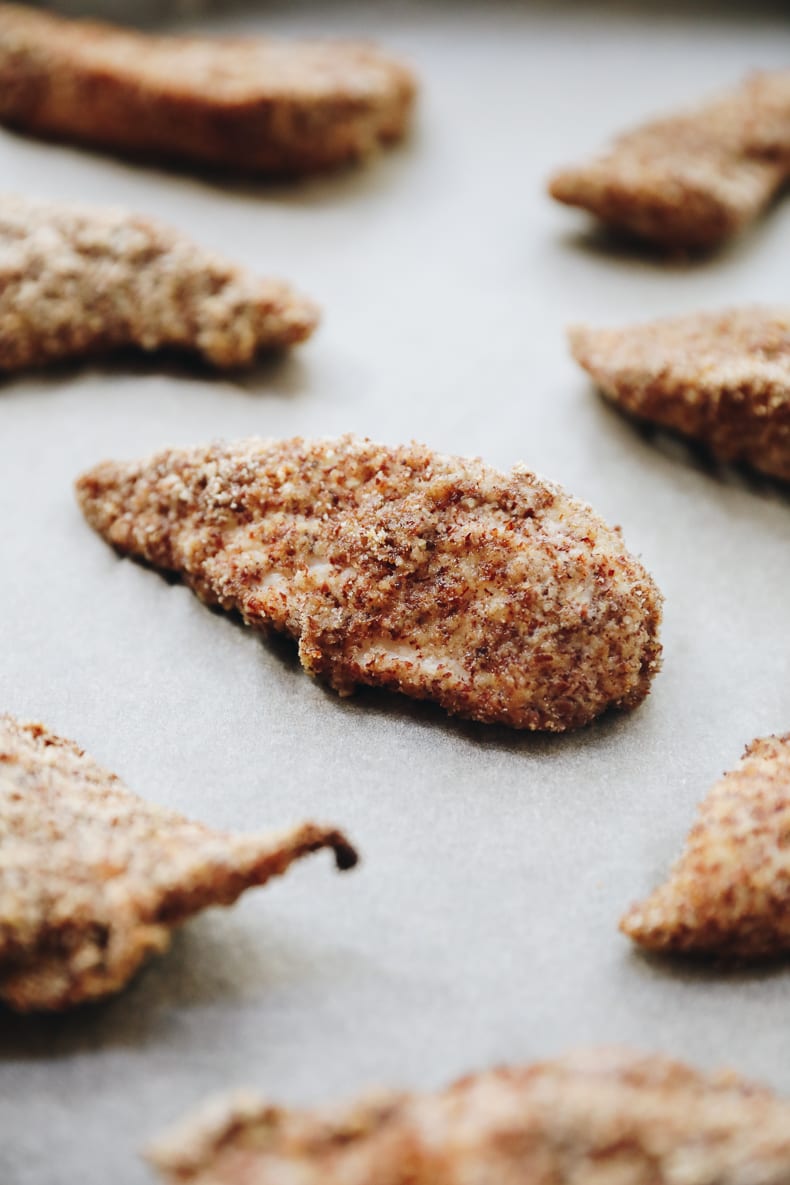
Baking your chicken fingers on a baking sheet will make them fairly crispy but if you’re a crisp fanatic, put a cooling rack on top of your baking sheet and bake the chicken fingers on that! This allows the hot air to circulate around the entire strip, creating crispy baked chicken strips instead of partially mushy strips!
Storing and Reheating
If you’re a chicken finger lover like me, you won’t have to worry about leftovers. If you’re meal prepping or making a bigger batch, you can absolutely store and reheat your chicken fingers. First, make sure you’re storing in an airtight container. They will last 3-5 days in the fridge. The important part comes during reheating. I recommend reheating in a toaster oven or traditional oven. Don’t microwave as they’ll get soft!
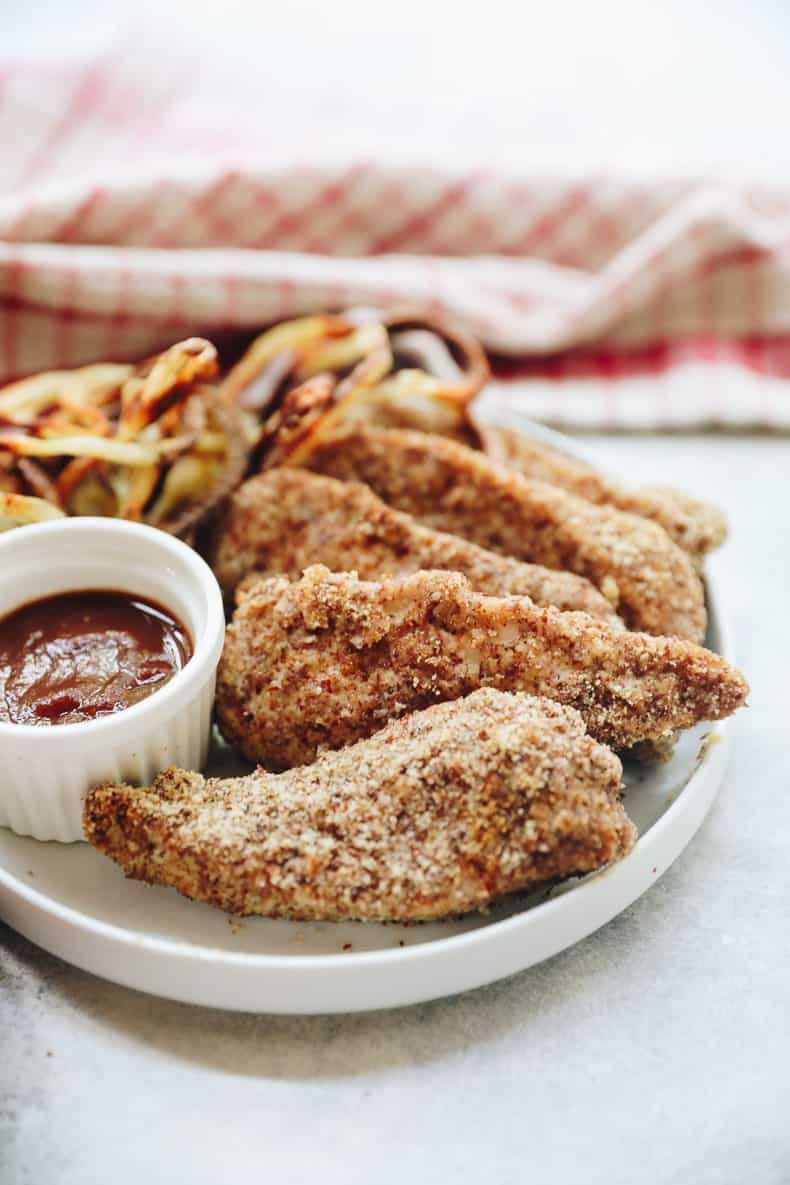
Make it a Meal!
Here are some healthy sides to pair with your chicken fingers:
- Crispy Baked Curly Fries
- Crispy Baked Sweet Potato Fries
- Maple Roasted Brussels Sprouts
- Charred Green Beans
Grain-Free Chicken Fingers

Ditch the store bought chicken fingers and whip up these healthy grain-free chicken fingers at home. They’re easy and baked so no messy frying or clean-up! A perfect meal kids and adults alike will love.
- Prep Time: 10 minutes
- Cook Time: 20 minutes
- Total Time: 30 minutes
- Yield: 8–10 chicken fingers 1x
- Category: Dinner
- Method: Bake
- Cuisine: American
- Diet: Gluten Free
Ingredients
- 2 large boneless, skinless chicken breasts (at least 1 pound)
- 1 large egg
- 2/3 cup almond meal*
- 1 tsp garlic powder
- 1/2 tsp chili powder
- 1/4 tsp cumin
- 1/2 tsp sea salt
Instructions
- Preheat oven to 400 degrees F.
- Chop chicken breasts into strips.
- Beat egg in a medium, shallow bowl.
- In a separate bowl combine almond meal and spices.
- Dip 1 strip into egg with left hand and place into almond meal mixture and mix to coat with right hand.
- Place onto a a parchment or silicone-lined baking sheet or for crispier chicken fingers place onto a wire rack on a baking sheet.
- Repeat with remaining strips.
- Bake for 20 minutes or until golden brown.
*Recipe calls for almond meal not almond flour
Like this recipe? Here are others you might enjoy:


LOVE THIS RECIPE
Thank You