This page contains some affiliate links. Please review my disclosure policy.
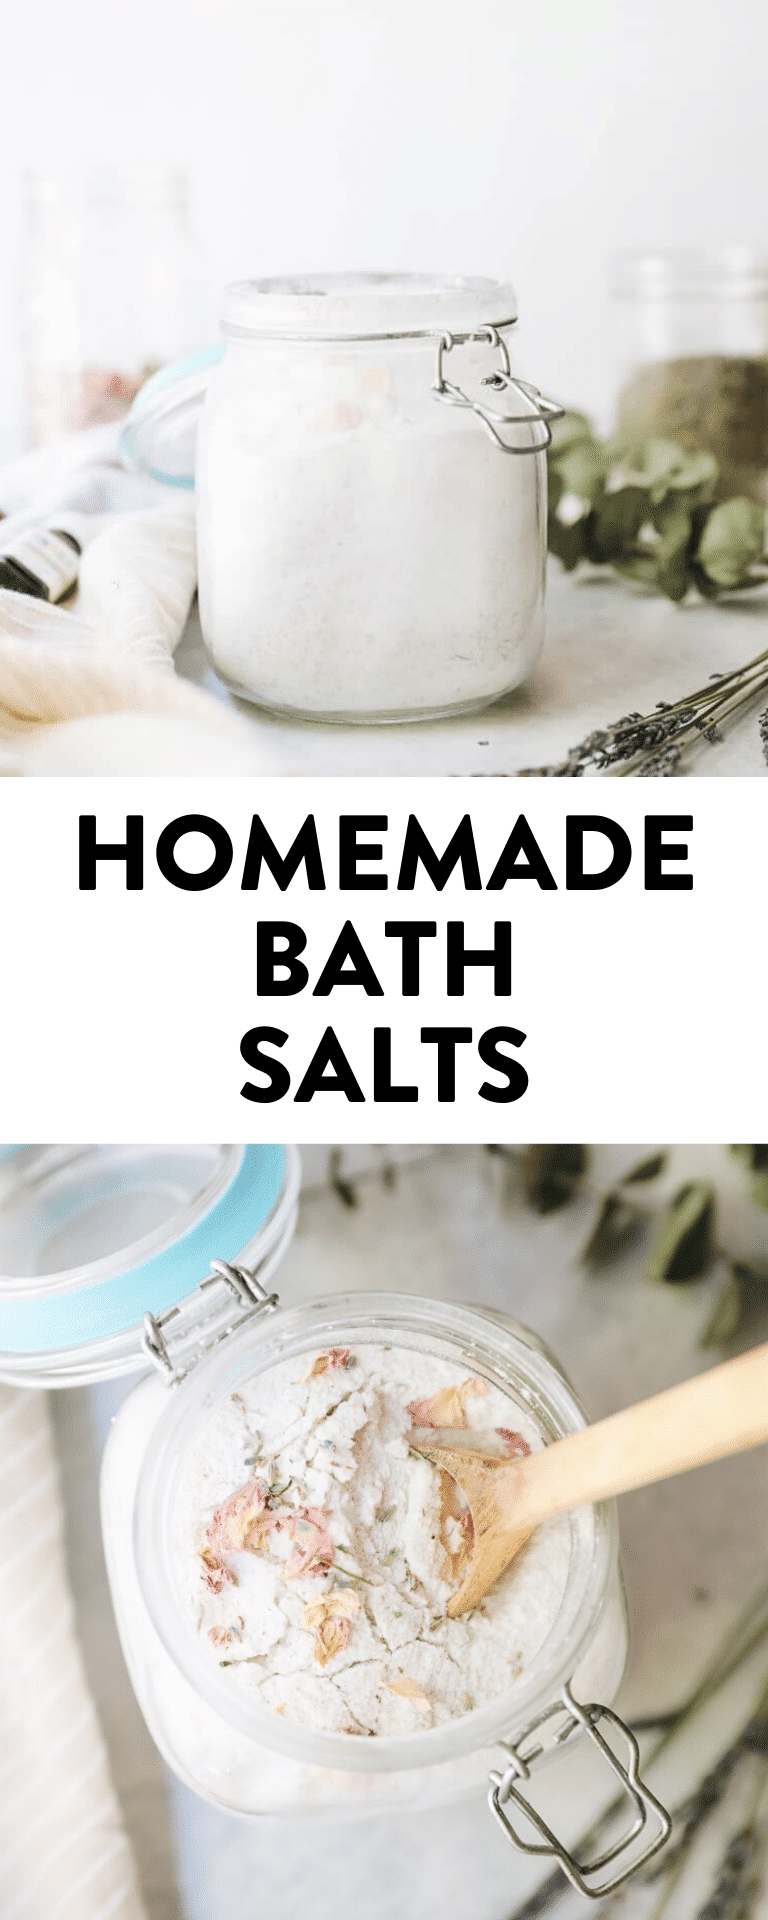
Wondering how to make bath salts? These homemade bath salt recipes will help soothe sore muscles, moisturize skin and relax you into your next bath – with 4 different combinations and instructions to help you customize your bath salts blend to meet your needs.
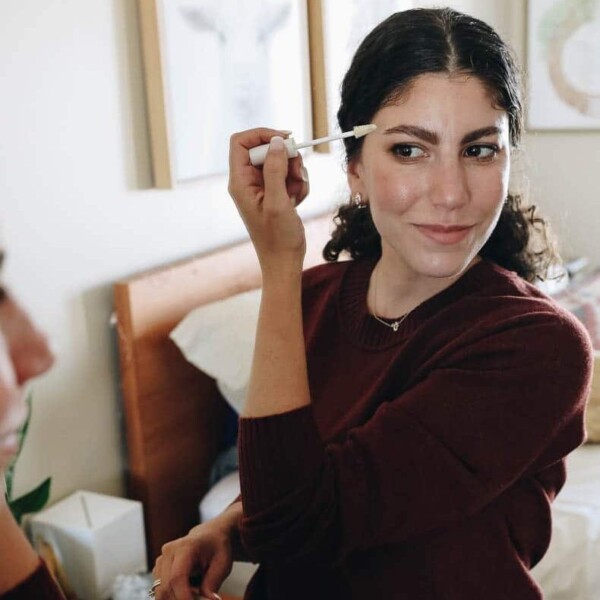
I have always been a bath person. Like most kids, my nights ended with a bath though unlike most kids, I LOVED it. I feel like most kids don’t look forward to bath time but it was my favorite time of the day! This love affair has continued into adulthood where the highlight of most days for me is bath time. I know baths have kind of become the cliche for self-care but honestly, my nightly bath ritual is my self-care. I usually dump a bunch of bath salts into the bath, put on a face mask and read a book. It isn’t fancy and it’s never Instagrammable but it’s relaxing, soothing and the perfect way to end my day. Baths are not for everyone, but for me they are everything.
If you’re looking for a super easy and fun DIY project or hostess gift, homemade bath salts are the way to go. I’m even including a few different options so you can customize your own bath salt recipes. Trust me, you won’t be going back to store-bought again.
What You Need To Make Bath Salts [Big Batch Recipe]
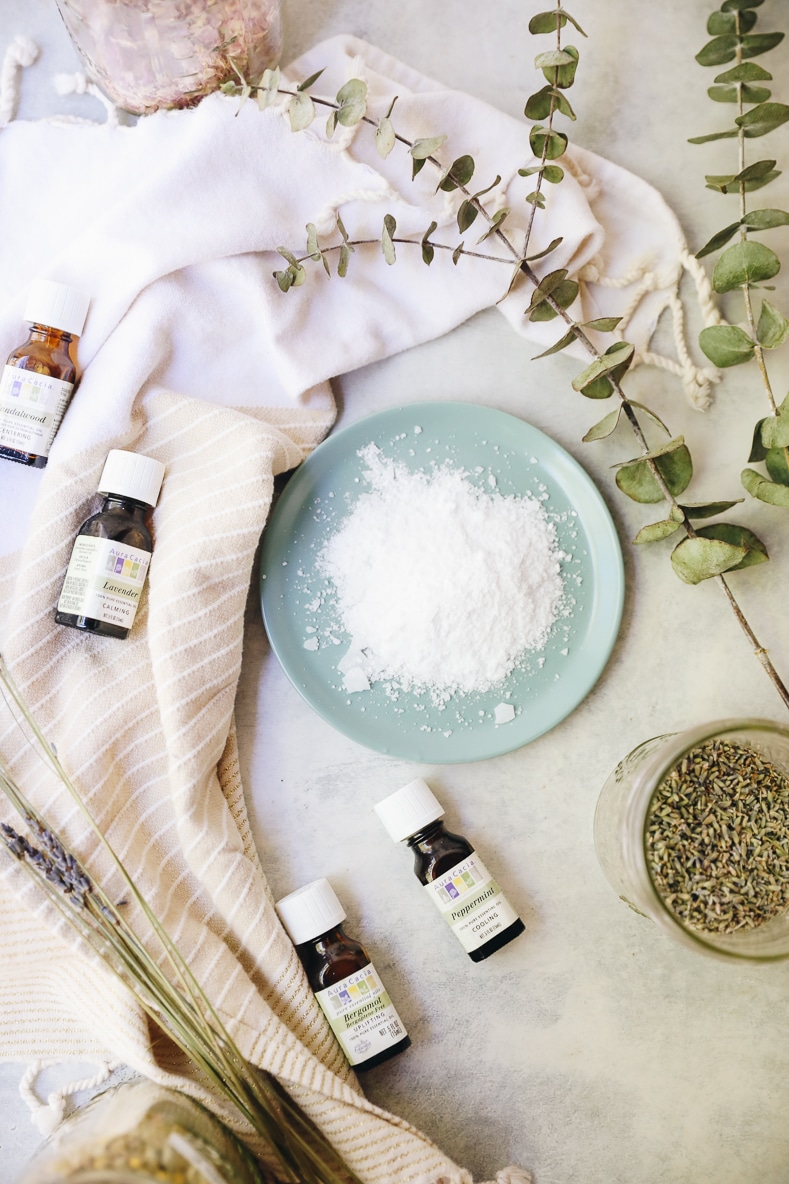
There are only 3 or 4 ingredients you need to make bath salts. I’m offering suggestions and variations below
- 4 cups epsom salts
- 1 cup coarse dead sea salt or pink himalayan salt crystals
- 40-60 drops of essential oils
- optional (though recommended!): 4-6 tablespoons dried herbs
What are Epsom Salts?
Otherwise known as magnesium sulfate, epsom salts are probably the most famous aid in helping to relax sore muscles. Epsom salts work by releasing magnesium and sulfate into water (the warm water breaks it down) and helps to relieve muscle aches and pain. You can absolutely use epsom salts on their own, but combining them with sea salt and herbal remedies helps ramp up their effectiveness and make for a the ultimate calming bath experience.
Why Use Sea Salt in Bath Salts?
Believe it or not, there’s no actual salt in epsom salts. As I mentioned epsom salts are actually a combination of magnesium and sulfate so for a double-whammy effect, this bath salts recipe uses both epsom salts and sea salt.
Sea salt’s benefits depend on where the salt was sourced from. Dead Sea Salts, for example are believed to be some of the highest quality sea salt and are known to promote:
- relaxation
- sore muscle release
- relief for certain skin conditions
Pink Himalayan Sea Salt is also known to help ease certain skin conditions and help the body detoxify.
I like a combination of both epsom salt and coarse sea salt though you’re welcome to sub one for the other.
Bath Salt Recipes [4 Ways]:
There are so many different versions of homemade bath salts that you can make but I thought I would share a few of my favorite versions. You’ll notice I include both essential oils and dried herbs.
After completing my herbalism certificate last year I am full force on the benefit of fresh and dried herbs. I know many of you only have access to essential oils, which you can totally use on their own but I’d encourage you to play around with herbs if you can. The potency is even more effective with dried herbs.
Sleepy Time Bath Salts Blend
- 4 cups epsom salts
- 1 cup coarse dead sea salt or pink himalayan salt crystals
- 20 drops of lavender essential oil
- 20 drops of chamomile
- optional: 2 tbsp dried lavender and 2 tbsp dried chamomile
Skin Food Bath Salts Blend
- 4 cups epsom salts
- 1 cup coarse dead sea salt or pink himalayan salt crystals
- 40 drops rose essential oil
- optional: 2 tbsp dried rose and 4 tbsp dried desiccated coconut (blended)
Relaxing Bath Salts Blend
- 4 cups epsom salts
- 1 cup coarse dead sea salt or pink himalayan salt crystals
- 20 drops bergamot essential oil
- 10 drops neroli essential oil
- 10 drops sandalwood essential oil
- optional: 2 tbsp dried lavender
Uplifting Bath Salts Blend
- 4 cups epsom salts
- 1 cup coarse dead sea salt or pink himalayan salt crystals
- 20 drops eucalyptus essential oil
- 20 drops grapefruit essential oil
- 10 drops clove essential oil
- optional: 1 tbsp dried rosemary
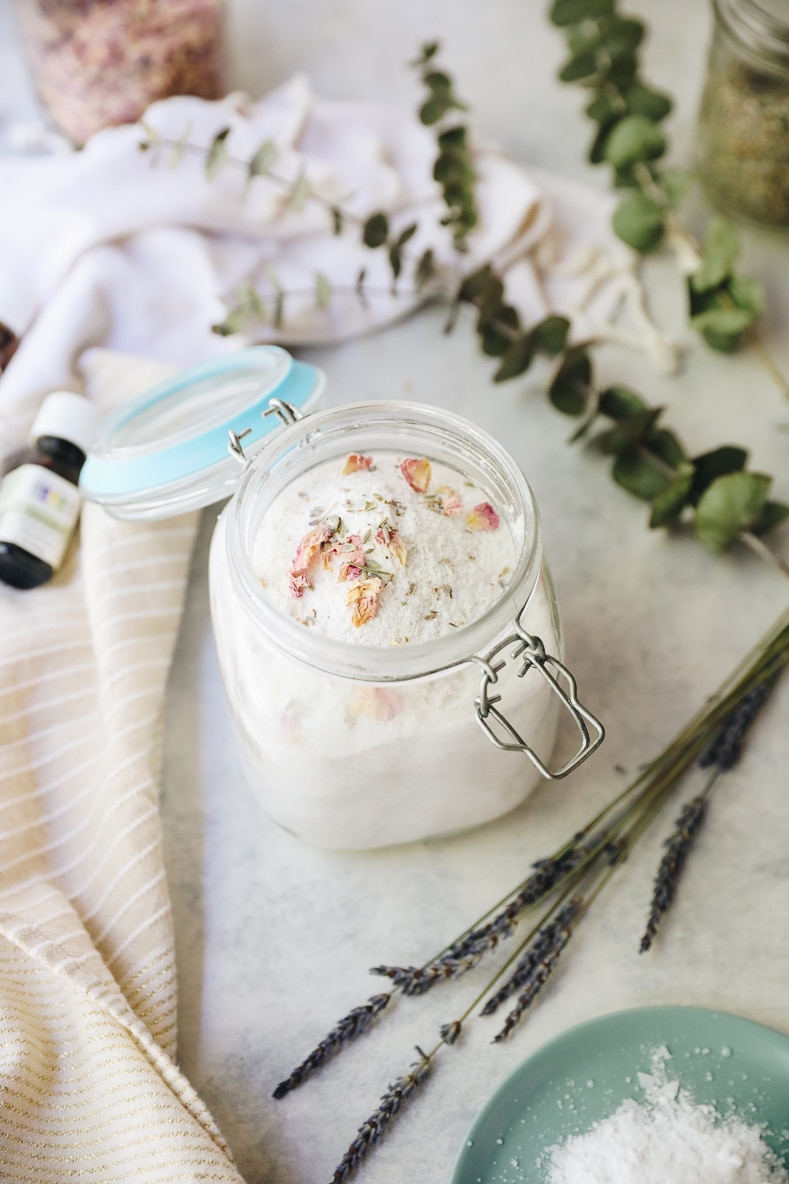
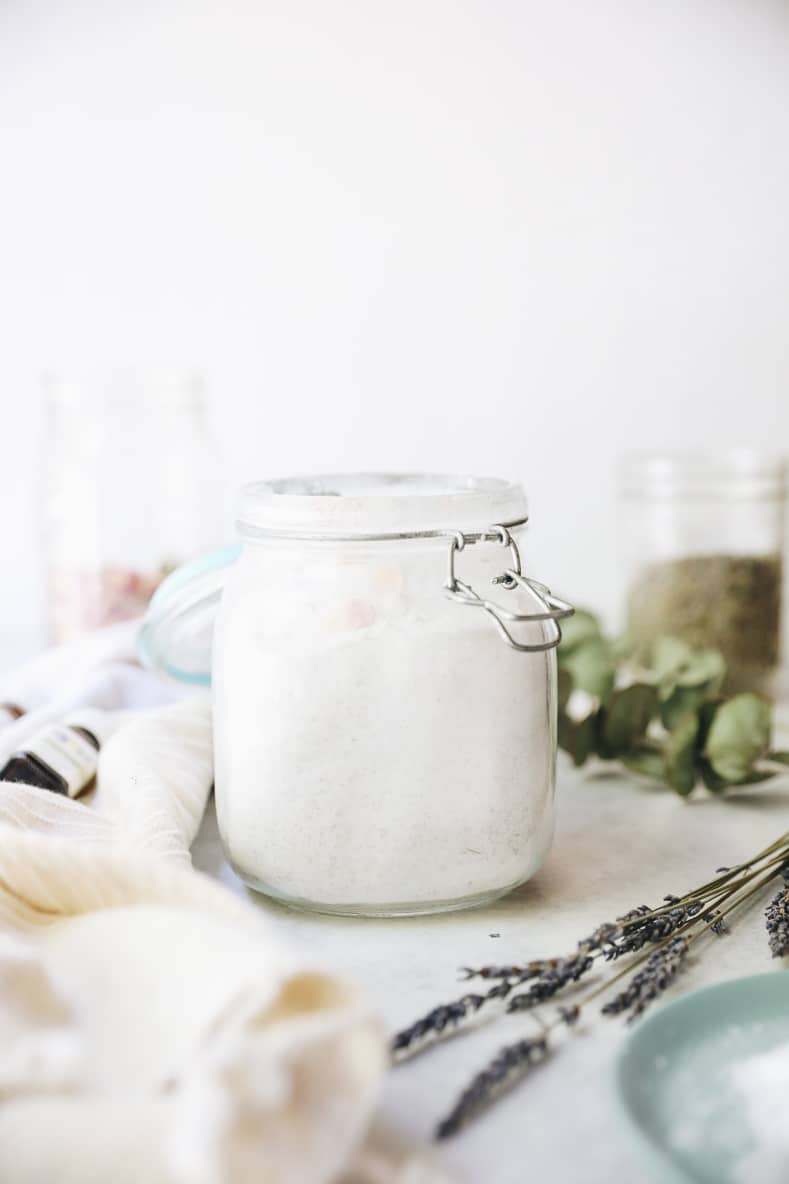
The instructions for making your bath salt recipes is fairly simple: Mix all ingredients in a bowl and stir. Store in a mason jar or other glass container. Feel free to add a label if gifting to friends or family.
How Much Epsom Salt For Your Bath?
You’ll want to add roughly 1/2-1 cup of bath salts to your bath to get the therapeutic effect. If you’re just looking for the scent you can add less but to get the benefits of epsom salt and the essential oils, I’d recommend adding more. Soaking in the tub for at least 20 minutes will help you reap all of the bath salts benefits!
How Long Does Homemade Bath Salt Last?
If stored properly (I like storing in a glass jar with a tight fitting lid e.g. a mason jar), your diy bath salts recipe will last indefinitely. Bath salts do not expire – just try to keep them from getting wet or exposed to too much sunlight. A cool, dark place (like a cabinet!) is a great place to store them.
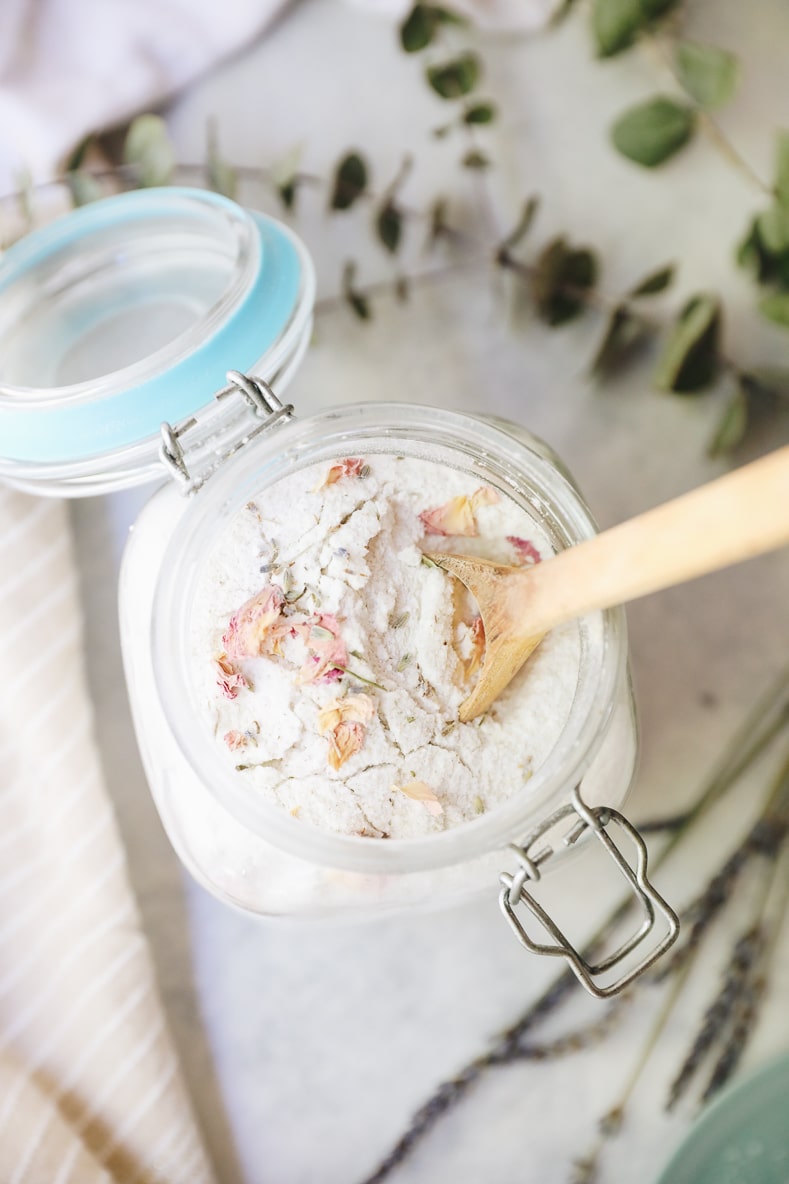
I recommend using a spoon to scoop out your bath salts or pour directly from a mason jar to prevent getting any cross-contaminated fingers in there.
Quick Tip: Blend Your Herbs
One quick suggestion for you: for easy clean-up I highly recommend you pulse your herbs (I.e. lavender buds and rose petals) in your blender to break them down. Not only will this help release the essential oils from them, it will also make clean-up so much easier. While floating herbs may make your bath look pretty, they make cleaning your tub post-bath a total nightmare. Just give them a few pulses in your blender to break them down before mixing in with the rest of your ingredients. This will allow them to go down the drain with the rest of your bath salts.
If that’s not your thing, I recommend keeping the herbs separate and creating little “tea bags” of herbs that you can throw in the bath and dispose of in your compost when your bath is done. I use these compostable tea bags.
A Note About Baking Soda
I am generally a fan of adding baking soda to my bath salts, however for these bath salt recipes if you add the baking soda directly to the mix, it can mix with the essential oil blend (especially citrus essential oils) and cause your container to explode…yes explode! I’ve had it happen to me. So just plan to add the baking soda directly to the bath rather than to your bath salt recipes.
PrintHow To Make Bath Salts
Wondering how to make bath salts? This homemade bath salts recipe will help soothe sore muscles, moisturize skin and relax you into your next bath.
- Prep Time: 5 minutes
- Cook Time: 0 minutes
- Total Time: 5 minutes
- Yield: 6 uses 1x
Ingredients
- 4 cups epsom salts
- 1 cup coarse dead sea salt or pink himalayan salt crystals
- 40–60 drops essential oil (to preference)
- 4–6 tbsp dried herbs (see suggestions above)*
Instructions
- Combine all ingredients in a large bowl.
- Be sure to break up any clumps that develop from essential oils.
- Store in an airtight container, in a dark, cool place indefinitely.
- For use: Add 1/2-1 cup of bath salts to your bath just before getting in.
*recommended to process or blend your dried herbs for easier bath clean-up.
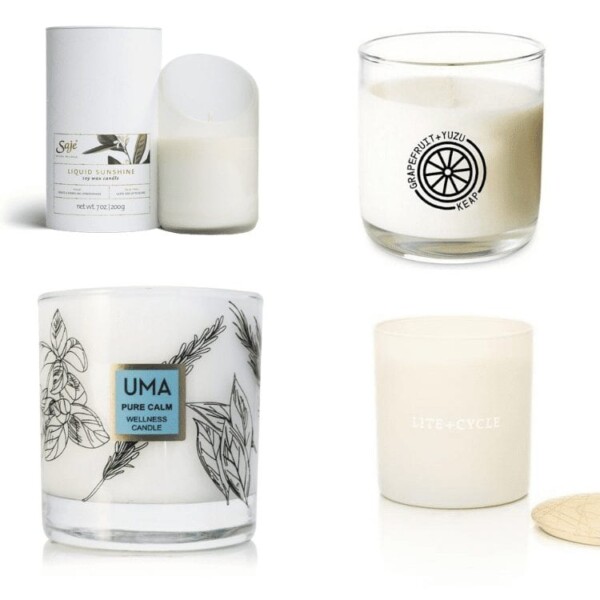
Like this post? Here are a few other DIYs you might enjoy:


I liked that you gave the basic recipe and variations. I made several varieties using different dried herbs from my garden. I have a coffee grinder that is just used for spices/herbs and that helped make my herbs very finely ground. For the mixture using chamomile oil, I didn’t have any oil, so I used chamomile tea and ground that to add at least a bit of that essence. Thanks for posting this handy recipe!
Hi, do you blend your bath salts because yours look more powdery than the normal Epsom salts?
Wow… This is looking good. This is a great recipe. Thanks for sharing this amazing post.
Hi Davida!
Your pictures are gorgeous! We particularly love the second photo – such a cute jar!
Love the idea of adding coconut too.
Thank you for the great blog!
Could you use skin safe fragrance oils like I use in my soaps instead of the essential oils? I was wondering as I was thinking of making a gift set with several products in the same scents. Thank you very much for your help with the products.
You probably can! I just haven’t tried it myself – can’t see why it wouldn’t work though!
A word of caution for pregnant or breastfeeding mothers looking for relaxing baths – please do not use Bergamot Oil as its not good in both of these situations.
Have you had any issues with citrus oils burning the skin? Is it less likely with being premixed in the oils?
being remixed with the salts I mean
Love these recipes. Could we use Baking Soda on these recipes? if so, in what proportion?
Thanks a lot!
Hi Tania – you could but I don’t recommend adding the baking soda directly to the mixture as if any of the essential oils touch it you will get a wet mess than can sometimes expand. No fun! I recommend just adding a 1/4 cup of baking soda to your bath alongside your bath salts. Hope that helps!
Hi…a very informative article & extremely helpful for novices like me!
Came to this page after several searches…you are i think the only one i have come across so far who has said no to baking soda…my aromatherapy trainer told me to add baking powder & have been searching on this but nowhere does it say baking powder!!
So am confused & request clarity from you…also how does one keep the salt clump free??
Wanted to make something special for my mom for mothers day.
Thank you in advance for your guidance & help.
Hi There! The issue with mixing baking soda in is it can form a chemical reaction with the essential oils which leads to more clumping and sometimes can even cause your glass jars to explode! Feel free to mix some baking soda directly into your bath to mix with the salts but don’t pre-mix into a jar. Hope this helps.
Thank ,you for your reply..truly didn’t expect your reply so was very happy. Understood the concept of baking soda…just wanted to ask you about where baking powder features?!!….why my teacher told me about it…shes the sort who gives half information! also have been reading about dendritic salt to be added to make bath salts non clumpy…what in heavens is that??!!
I love your simple easy recipes but just wanted added info to understand the entire thing.
Thank you once again in advance for your guidance…. God bless😊
I find that many, many people confuse baking powder with baking soda, or simply misspeak when they say one but mean the other. I am confident your trainer didn’t mean BP, but maybe call her to be sure?
Bath salts are the kind of project that even a novice can easily master. Keeping it simple by sticking with the bath salt recipe below would be a great help. Thank you so much for sharing this! I bookmarked your blog and gonna use this as my guide.
The sandalwood oil you link to here is cut w/jojoba oil (much more cost effective, to be sure) — do you know about how many drops it would be for the uncut stuff?
Cut the sandalwood in half if that’s the case! We linked to the cut one because yes, like you mentioned it’s much more cost-effective. Woah to the price tag of pure sandalwood eek!