This page contains some affiliate links. Please review my disclosure policy.
A simple DIY Deodorant recipe that smells amazing and works too! Made with clean, all-natural ingredients and ready in under 10 minutes, this natural deodorant recipe will quickly become a staple in your body routine.
With 60+ 5 star reviews this Natural Deodorant recipe is one of my most popular posts. It was updated in March 2024 with added details and descriptions to make it easier for you!
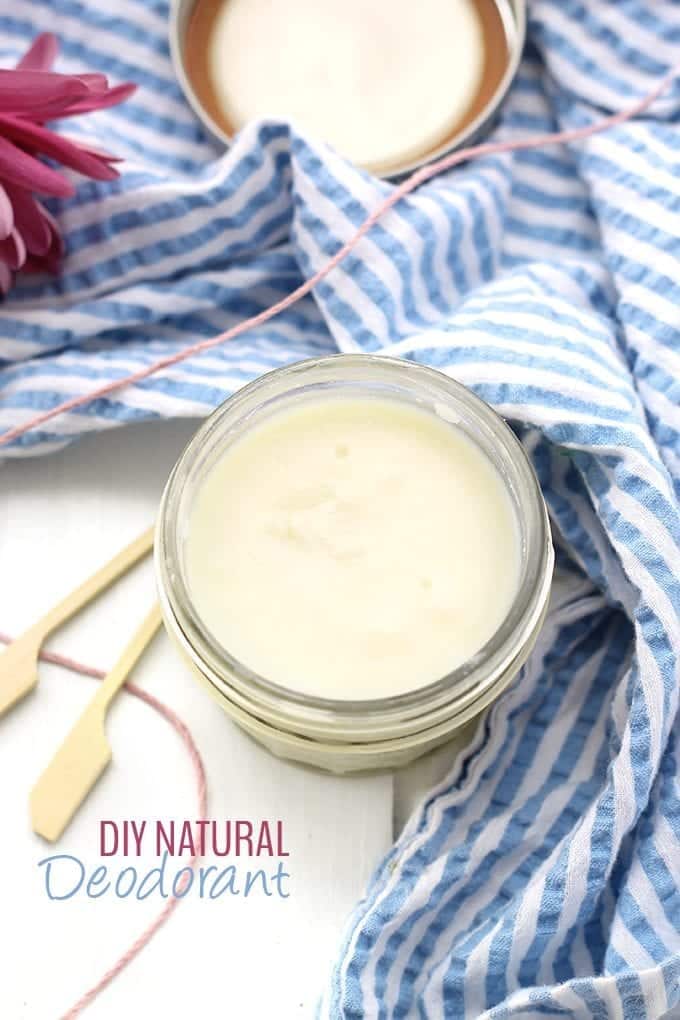
Table of Contents
I mean we all knew the day would come. The signs were all there. Natural beauty routine, apple cider vinegar EVERYWHERE, so it was due time I embrace my inner hippie and jump into the world of Natural Deodorant.
I’ve been using this natural deodorant for almost 10 years and absolutely swear (and sweat!) by it.
I pretty much summed up my thoughts on natural beauty in this post and also shared some of my favourite homemade products in this post but in a nutshell I truly believe that what we put on our body should be equally as important as what we put in it. And this includes homemade deodorant. But first let’s chat about why you should switch to natural deodorant:
Why Use Natural Deodorant?
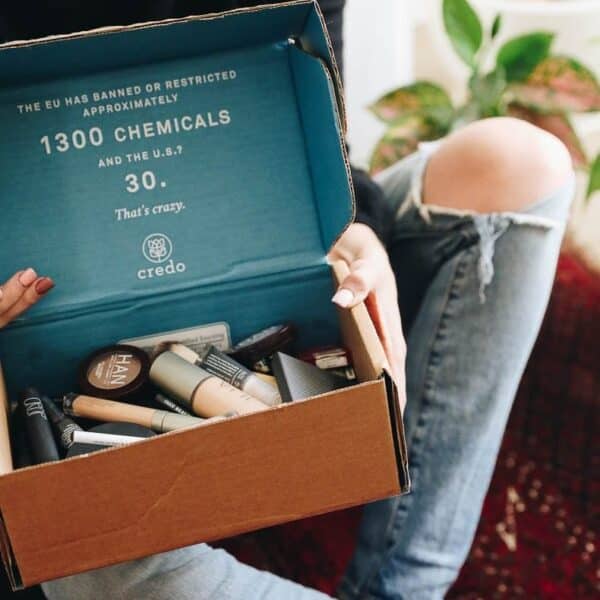
Have you seen what is in conventional deodorant? Likely you’ve glanced at the bottom at least once in your life and seen a list of ingredients that appear to be written in a different language. But did you know that many of these ingredients can be incredibly harmful for your body?
Let’s go through a couple of them:
–aluminum: this is the ingredient that clogs your sweat glands and prevents sweating (more on this below). Aluminum exposure has been linked to Alzheimers as well as to build-up of estrogen in the body which can also be correlated with increased chances of breast and prostate cancer.
–parabens: these ingredients are used as a preservative in deodorants but can also mimic estrogen in your body. This leads to hormonal disruptions and is also linked to breast and prostate cancers.
–phthalates: these chemicals are used to make other ingredients more flexible and are also used as fragrance ingredients for artificial fragrance. They primarily affect the endocrine system and exposure can lead to early onset puberty as well as breast cancer later in life.
-Triclosan: An antibacterial chemical that can also disrupt the hormone system and is associated with increased chance of breast cancer. It was actually banned by the FDA in hand soaps but for some reason they still allow it in deodorants?!
…this list could go on but this is just a taste of what you find in conventional deodorants.
Ingredients in Homemade Deodorant:
- Unrefined coconut oil – Coconut oil contains fatty acids, like lauric acid, which are known for their antibacterial benefits. It can help reduce the odor-causing bacteria in your arm pits, leaving you refreshed and smelling clean.
- Unrefined shea butter – Also super antibacterial and non-comedogenic so it won’t clog your pores. It also adds moisture to the formula.
- Arrowroot powder/flour – A highly absorbent powder to help wick up extra sweat. Effectively acts as an antiperspirant. You can replace with tapioca starch if that’s all you can find.
- Baking soda -super effective at fighting body odor and also soaks up sweat. Note: baking soda can be a potential skin irritant so feel free to add less to the formula and work your way up.
- Lavender essential oil – this is primarily for scent so you can replace with a different essential oil if you prefer or omit for unscented.
- Grapefruit essential oil – same as lavender in that you can replace with a different essential oil if you prefer a different scent or omit for fragrance free.
- Tea tree essential oil (optional)* – tea tree is antibacterial and a super effective odor-buster.
You will also need either a small glass jar with a lid or empty deodorant sticks or containers.
*For Sensitive Skin
Certain people are sensitive to tea tree oil so be sure to test your skin with a drop before adding to mixture. It is not necessary to include but tea tree is antibacterial and it is the bacteria in your underarms that leads to smell so it is a nice addition if you are not sensitive.
How to Make DIY Deodorant
- STEP 1
Place coconut oil and shea butter in a glass bowl or jar and place the bowl/jar inside a medium sauce pan to create a double boiler. Add water to the saucepan (enough to surround bowl/jar but not to overflow it) and bring to a boil. As water is heating up, stir coconut oil and shea butter and continue to do so until it melts.
- STEP 2
Once melted, add in arrowroot starch, baking soda and essential oils.
- STEP 3
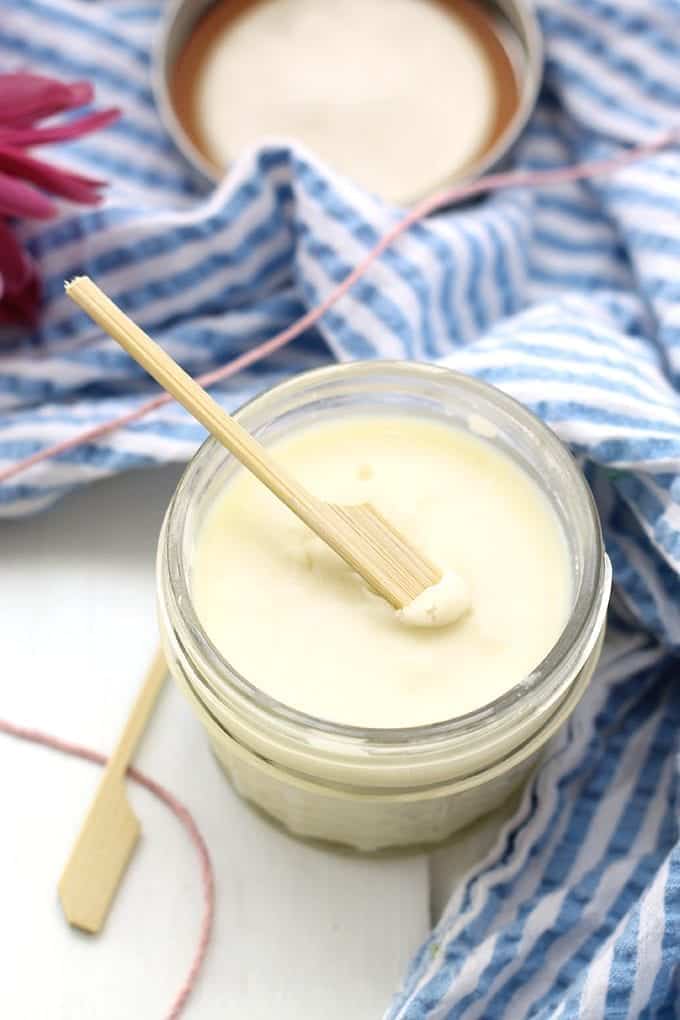
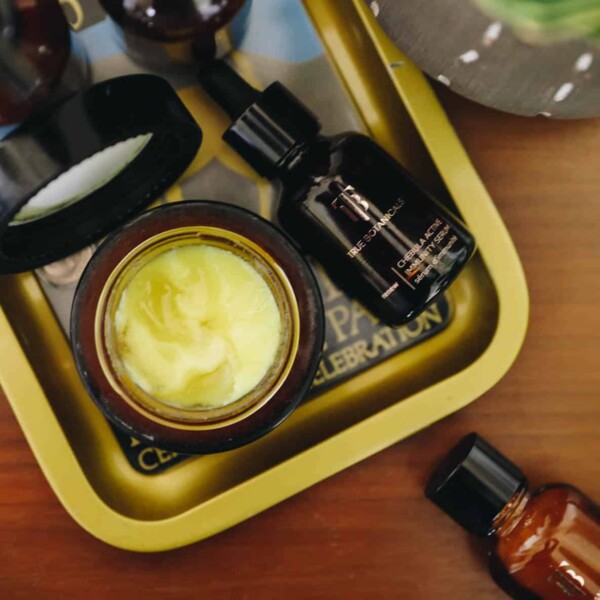
Place in a 3 ounce jar and allow to cool at room temp or in fridge (will harden faster in fridge) until it’s reached a solid state consistency. Cover with lid until use.
How to Use DIY Deodorant:
- Wet underarms slightly (this helps with even application)
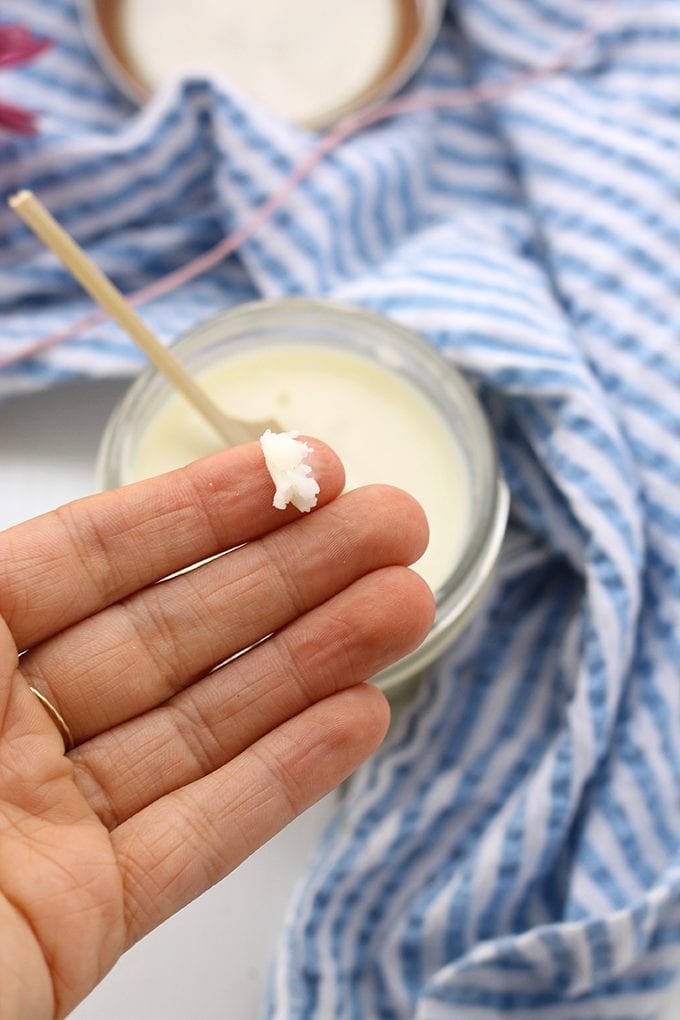
- Spoon out a pea-sized amount with a wooden scoop or with fingers and rub between fingers before applying directly to underarms.
- For a regular day, one application in the morning should be fine. For hotter days, workouts or if you’re particularly sweaty, feel free to reapply as needed.
FAQs: Your Questions Answered
If kept in a cool, dry place this natural deodorant will last 6-12 months.
Just a pea-sized amount. A little goes a long way.
Depending on your body and level of activity you may have to. This natural deodorant is not an anti-perspirant so while it can reduce sweat slightly it will not prevent sweating entirely so you will need to reapply from time to time. This is the case with all aluminum-free deodorant as the aluminum is what blocks your sweat ducts. However, the coconut oil, baking soda and essential oils all offer odor protection so you should be good for several hours/all day if you aren’t getting super sweaty.
Your armpits may require an adjustment period while making the switch. Start by using this DIY Natural Deodorant 1-2 days a week and slowly increase.
Some people develop skin irritation to tea tree and baking soda. I recommend waiting at least 6 hours after you shave if you plan to use this natural deodorant. This means I’ll shave the night before and then apply the next morning. This prevents any kind of skin reactivity. If you have extra sensitive skin you can leave out the tea tree and decrease the amount of baking soda in the blend.
First things first, try putting it in the fridge. If it hardens in the fridge then it’s likely your home is on the warmer side and you’ll need to store it in the fridge to keep it solid. It works if it isn’t solid but may separate a bit. Alternatively, check to make sure you didn’t use fractionated coconut oil which will not harden. You’ll need to remake your recipe with non-fractionated coconut oil.
Mine typically lasts 3-6 months depending on the season and how frequently I’m reapplying.
Yes, you can use whatever essential oils you prefer. Some suggestions include eucalyptus, chamomile or bergamot.
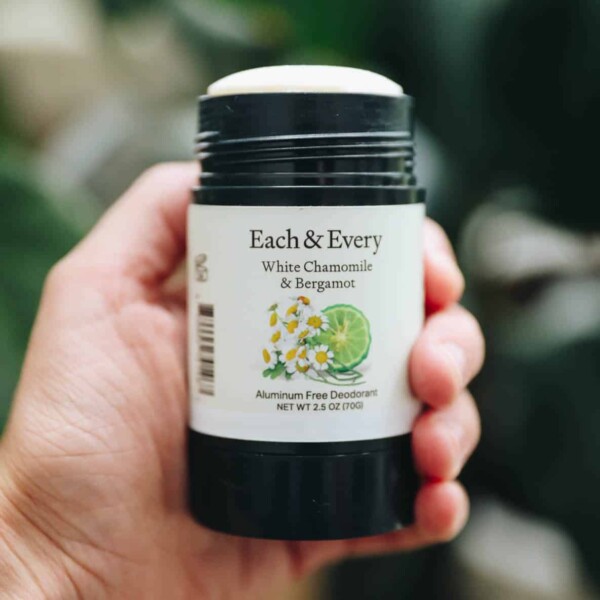
You can read about my favorite store-bought best natural deodorants (including baking soda-free options) HERE. I’ve included some of my favorites like Each & Every, Native Deodorant, Schmidt and spray deodorant.
I personally have not found it to stain my clothing though some people in the comments have. My trick for armpit stains is to run it under scalding hot water though TBH I rarely have to do this because I haven’t found staining to be a problem for me.
Storage Instructions
Store your DIY deodorant in a cool place for up to 6 months. If you live in a hot climate you’ll want to store it in the refrigerator to ensure it will harden.
More Homemade Body Care Recipes:
DIY Deodorant
A simple DIY Deodorant recipe that smells amazing and works too! Made with clean, all-natural ingredients and ready in under 10 minutes, this natural deodorant recipe will quickly become a staple in your body routine.
- Total Time: 10 minutes
- Yield: 1 small glass jar 1x
Ingredients
- 2 1/2 tbsp unrefined coconut oil
- 2 1/2 tbsp unrefined shea butter
- 1/4 cup arrowroot starch/flour
- 1 1/2 tbsp baking soda
- 6 drops lavender essential oil
- 6 drops grapefruit essential oil
- 1 drop tea tree essential oil (optional)*
Instructions
- Place coconut oil and shea butter in a glass bowl or jar and place the bowl/jar inside a medium sauce pan.
- Add water to the saucepan (enough to surround bowl/jar but not to overflow it) and bring to a boil.
- As water is heating up, ensure to stir coconut oil and shea butter and continue to do so until it melts.
- Once melted, add in arrowroot starch, baking soda and essential oils.
- Place in a small glass jar (or pour into empty deodorant stick(s)) and allow to cool at room temp or in fridge (will harden faster in fridge) until it’s reached a solid state.
- Cover with lid until use.
Directions for use:
- Wet underarms slightly (this helps with even application)
- Spoon out a pea-sized amount with a wooden scoop or with fingers and rub between fingers before applying directly to underarms.
- For a regular day, one application in the morning should be fine. For hotter days, workouts or if you’re particularly sweaty, feel free to reapply as needed.
*Certain people are sensitive to tea tree oil so be sure to test your skin with a drop before adding to mixture. It is not necessary to include but tea tree is antibacterial and it is the bacteria in your underarms that leads to smell so it is a nice addition if you are not sensitive.


Hello! Can I add some sunflower wax in this recipe and in what amount? Thank you in advance.
Can somebody please post an accurate translation to the metric system?
I loved this recipe! Question. I noticed some brown on the bottom of my jar after a while. Doesn’t look or smell like mold! I’m going to make a new batch. Any idea which ingredients might have caused that?
Hi, can this recipe be re-melted once mixed with all the ingredients? I find that I can’t smell the oils and would like to add more. Thanks:)
Maybe the essential oils? If you put them in while it was hot- I’ve seen my oils leave brown residue on various things 🙂
can i use cocoa butter as i don’t like the smell of shea butter..will this yield an effective deodorant?
Yes! Cocoa butter should work just fine!
I have potato starch, could I replace the arrowroot starch with that? Thank you.
I just made this recipe and placed it in an old deodorant tube. When I glide it on, I end up with oil running down my armpits & side body and it seemed to leave oil stains on my shirt. Has anyone else had this issue? Is this normal?
Where did you purchase the jars and applicators??
thank you for this, I am making gifts for people for christmas with this idea. I’ve just got my arrowroot and the shea butter and started making it this afternoon. I followed along but changed the quantities because I’m making a few jars of it. I added what I thought seemed like plenty of essential oils but the scent in the jar is predominantly the shea butter. Will this change as the stuff hardens? I’ve put the jars in the fridge now to set and hope.
I was also a bit concerned where someone has said about their underarms going brown, I’m giving one of the jars to a teenage girl who’s very concerned with looking after that planet but am a little concerned about this happening. Have many people found this happened to them?
Thank you for a great idea and for sharing
I’m hoping someone here can help me with something. i buy a natural deodorant in a tub that looks very similar to this recipe. i recently bought several directly from the manufacturer and they melted in transit, leaving them crumbly and hard to use. I’m hoping i can re-melt them amd get them to a better consistency, but is there a trick to the temp or cooling time to make sure they smooth out?